
Integrate with Shoplazza
The impact.com Affiliate & Influencer app in Shoplazza integrates impact.com's conversion tracking & reporting with your Shoplazza store. Our app is a no-code plugin, meaning you can integrate and end-to-end test without needing web development expertise.
Note: Integrate with Shoplazza is in betaOur impact.com integration with Shoplazza is currently in beta. Should your experience not match the guide below, please reach out to your CSM (or contact support).
This guide covers…
- A check that needs to be performed before integrating.
- How to install the impact.com plugin to your Shoplazza store.
- Full end-to-end conversion testing in your store.
Check before integrating
Before proceeding with the Shoplazza integration, ensure you have:
- Access to your impact.com account
- Admin access to your Shoplazza store
- Your impact.com account credentials ready
Understand the integration limitations
- Shoplazza releases new API versions every six months, and each version supports at least 12 months. If your application calls a version that is no longer supported, it will return a 404 status when calling the request.
- To embed the app, you must contact support.
- You can not insert meta-tags to the orders, only to the products.
- Shopplazza does not provide support for knowing when a user uninstalls the app.
RefundsShoplazza does not provide information about the number of items refunded but only the amount of revenue refunded. Please reach out to your CSM (or contact support) to enquire about the best way forward regarding refunds for your store.
Add impact.com to Shoplazza
This instruction set covers installing impact.com Affiliate & Influencer to your Shoplazza store.
Install impact.com's plugin
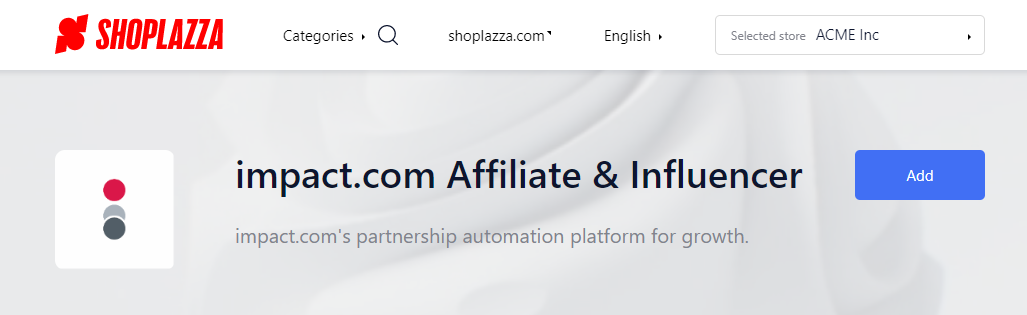
In Shoplazza, log into your account and navigate to the impact.com Affiliate & Influencer app.
- Select Add and confirm that you would like to install the app.
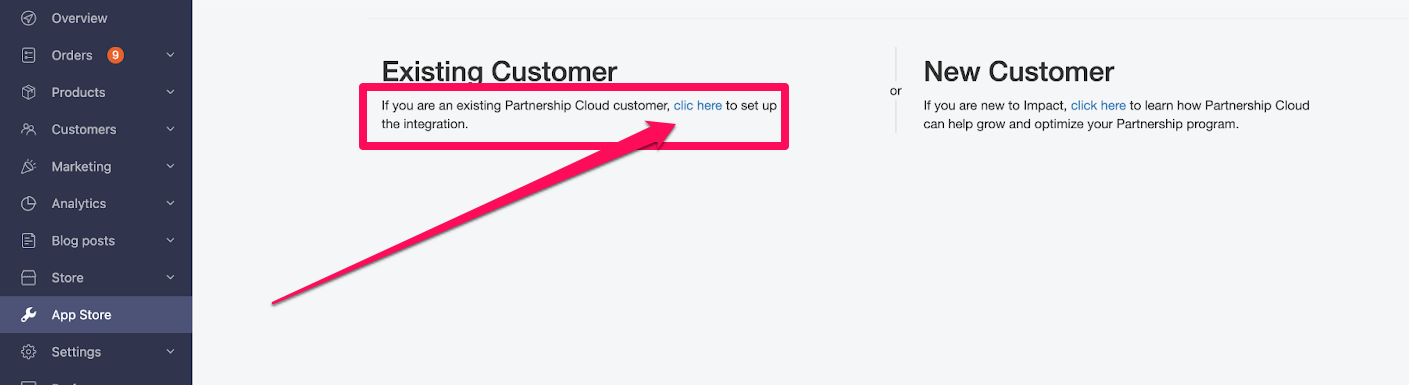
On the Existing or New Customer screen, under Existing Customer, select click here to set up the integration.
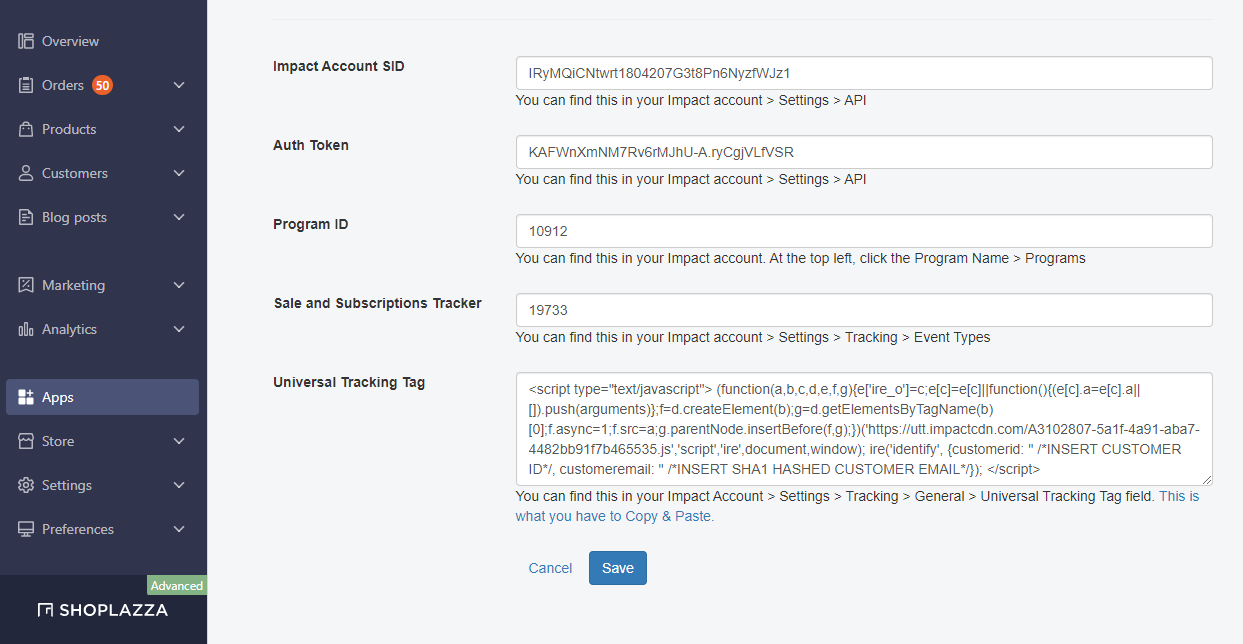
On the following screen, fill in your relevant account data. Continue with the instructions below to access your Universal Tracking Tag.
- See the table below for more information on how to access your account data.
Refer to your Program Elements document for your specific account information.
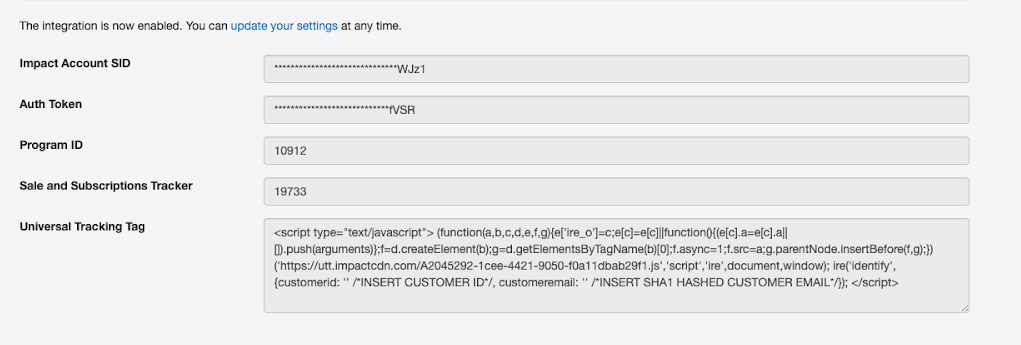
Field Description Impact Account SID * In the impact.com platform, navigate to [User profile] → Settings → API and copy your Account SID.
Auth Token * In the impact.com platform, navigate to [User profile] → Settings → API and copy your Auth Token.
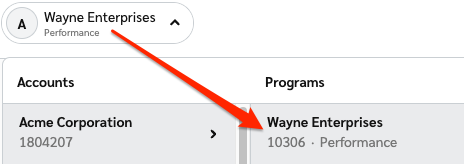
Program ID * In the impact.com platform, select your brand name in the top-left corner. Your Program ID is the numerical value under the program name.
Sale/Subscription Tracker * In the impact.com platform, navigate to [User profile] → Settings → Event Types. Copy the number in parenthesis next to the name of the Online Sale event type.
Universal Tracking Tag * In the impact.com platform, navigate to your UTT and copy the entire unique code snippet.
- Paste the UTT into the Universal Tracking Tag field in Shoplazza.
Select Save.
Shoplazza will confirm that the integration has successfully been enabled.
End-to-End Testing
End-to-End Testing Instructions
After completing the integration, perform the following tests:
- Test conversion tracking: Make a test purchase through your affiliate links
- Verify data flow: Check that conversion data appears in your impact.com dashboard
- Test refund tracking: Process a test refund and verify it's tracked correctly
- Monitor for 24-48 hours: Ensure consistent data flow between platforms
If you encounter any issues during testing, contact your Customer Success Manager or reach out to support.
Updated 4 months ago