Integrate with HubSpot
Looking to integrate with Advocate? Refer to Integrate with HubSpot for Advocate for additional instructions.
The impact.com / HubSpot extension can receive event data (e.g., lead form submissions) from HubSpot and track it as an action within the impact.com platform. You'll be able to identify specific event conditions that represent a conversion event, then configure a flexible mapping of data points to be sent from HubSpot to impact.com.
The most common use case is using HubSpot to monitor changes in status for contacts and deals (such as a lead turning into a sale), then reporting that data to impact.com as a conversion. From there, you can use the contracting and payment features of impact.com to credit partners for those actions.
This integration supports the following standard HubSpot objects:
- Deals
- Companies
- Contacts
Prerequisites
Note: You must activate consent for every single Hubspot entity for which you want to report conversions. You must also map all required impact.com fields for the conversion to be successful.
This section covers the prerequisites to meet before installing the impact.com app to your HubSpot account.
Tracking Leads via impact.com or HubSpot
Track leads via impact.com
Events can be tracked using the impact.com UTT (Universal Tracking Tag), which is a small piece of JavaScript code that can be loaded using a Tag Manager solution, or placed manually on your website. Using the UTT offers richer user-level reporting in impact.com, supports Direct Tracking features, and more.
If you're planning to track lead events using the UTT, the Customer ID value sent via the TrackConversion function must also be available to the HubSpot objects that are being monitored and reported on. In other words, HubSpot needs to receive a Customer ID value in order for the integration to accurately correlate events.
Track leads via HubSpot
Lead submission can also be tracked through HubSpot. Impact appends an im_ref parameter + dynamic value (per click) on your landing page URLs. Example link: yourdomain.com?im_ref=ref123. The im_ref value (ref123) must be captured and stored. When the user submits the lead form, the im_ref value must be sent in a hidden field to HubSpot. There must be a consistent ID available in HubSpot objects that are being monitored and reported on to send in the CustomerId parameter.
Note: If you're already tracking events with HubSpot or plan to do so, you can skip to installing impact.com in HubSpot.
Event Trigger Availability
Before planning your integration, review the limited set of predefined event triggers available within the impact.com plugin in HubSpot. Any custom-defined triggers in your HubSpot account will not be reflected as options in the event trigger drop-down menu.
Check before integrating
impact.com will complete several integration steps on your behalf. Check with your implementation engineer to ensure that the following configuration steps have been completed: Event Type, Gateway Tracking, General Tracking.
Install & connect impact.com in HubSpot
Once your impact.com is configured, you can install & connect the impact.com / HubSpot extension to your HubSpot account. Then, configure field mappings so that data appears in both platforms as expected.
Install the impact.com app
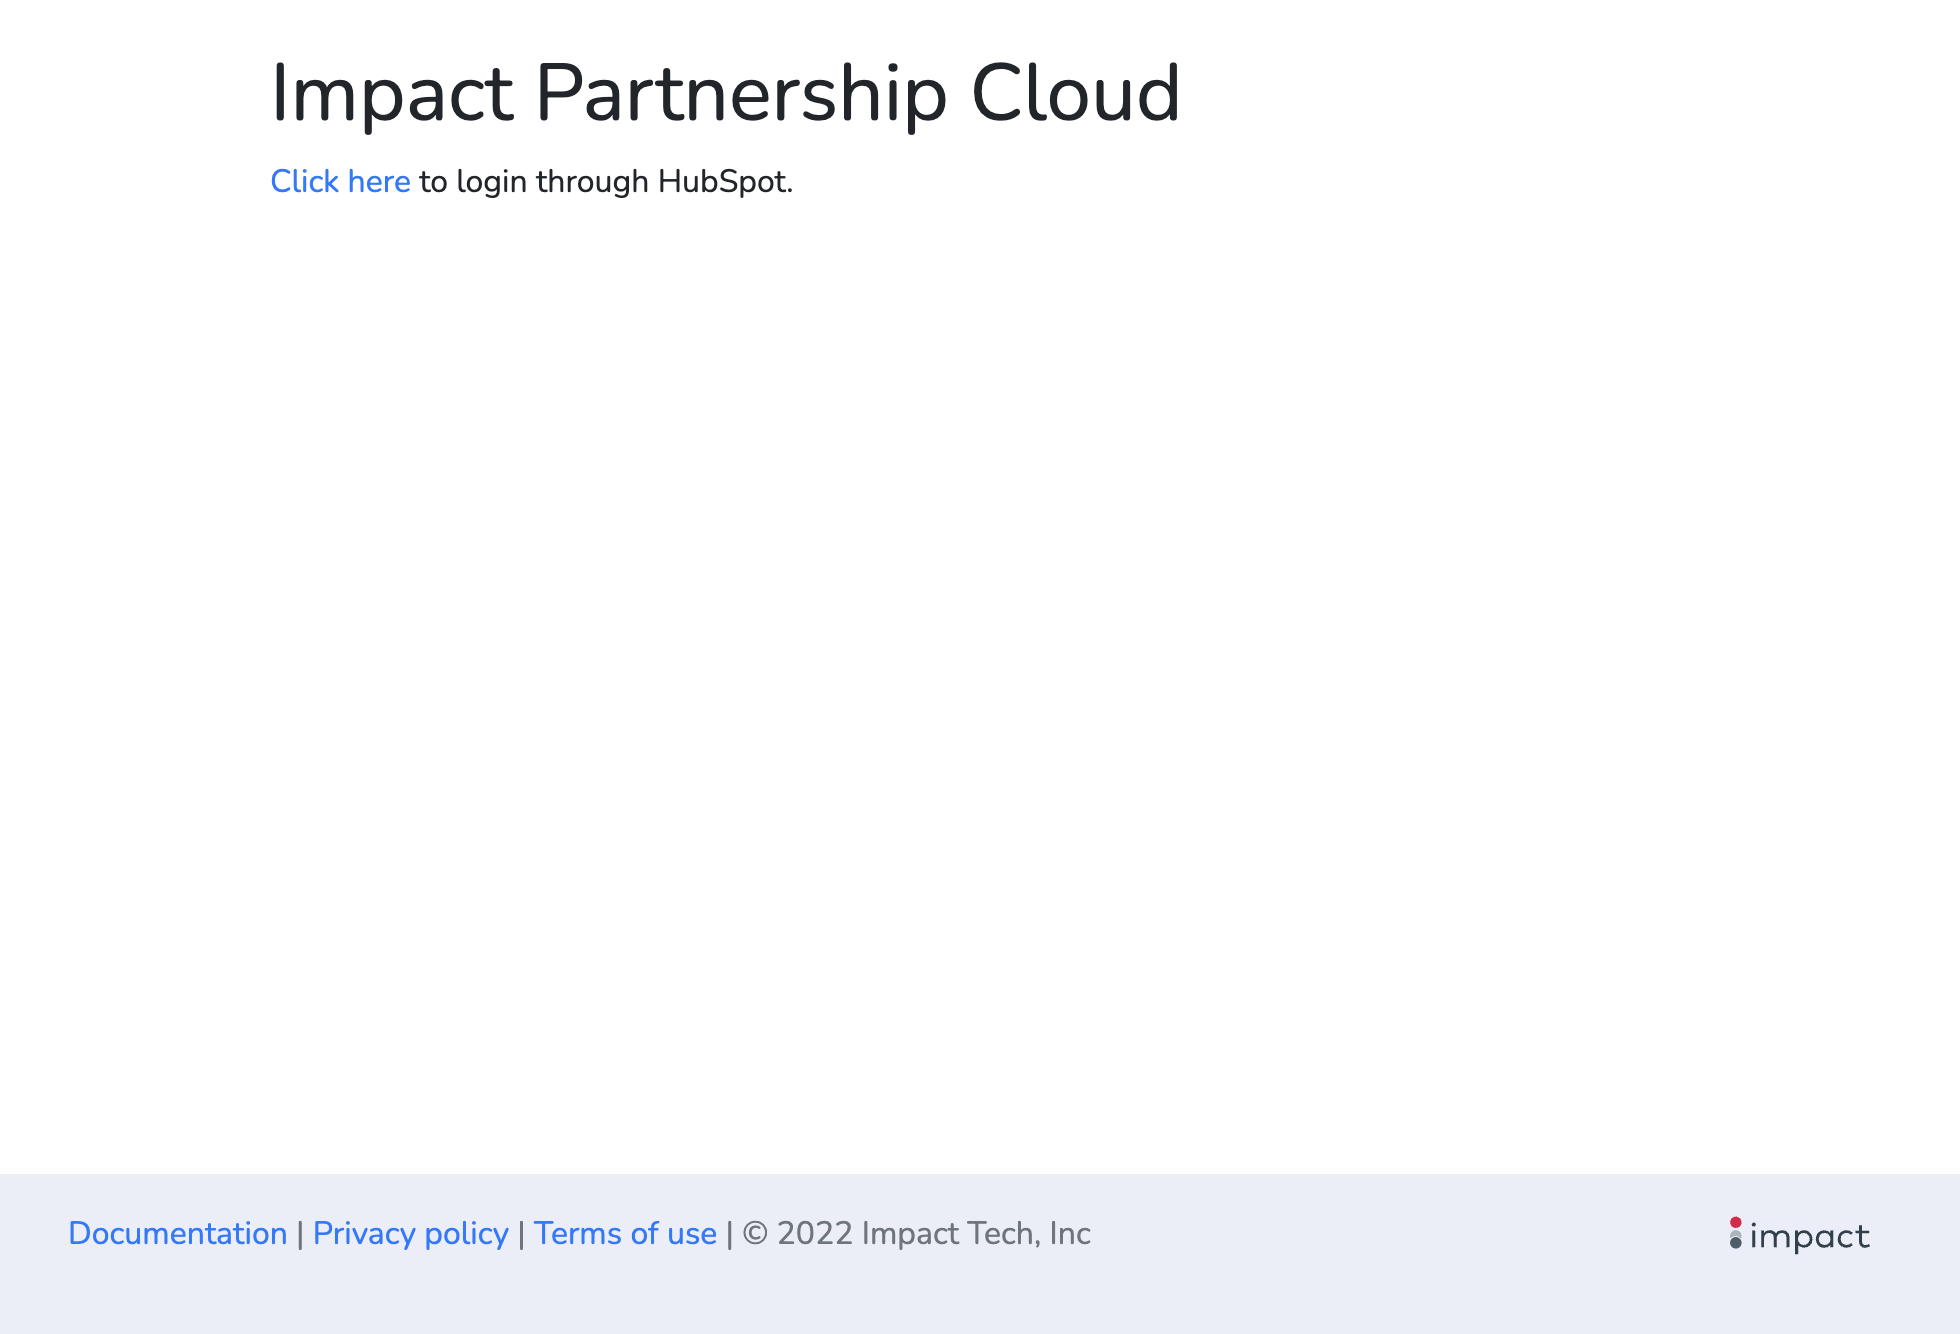
Navigate to the Connector website.
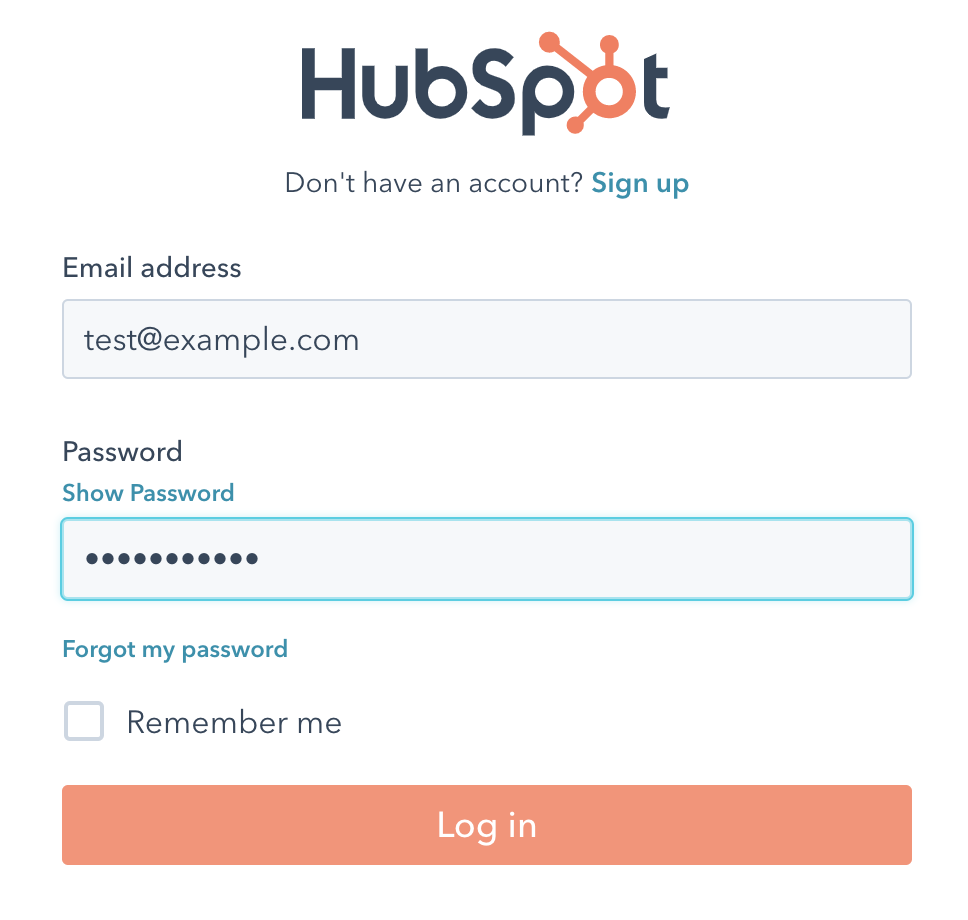
Select Click here to login through HubSpot, then log in with your HubSpot credentials.
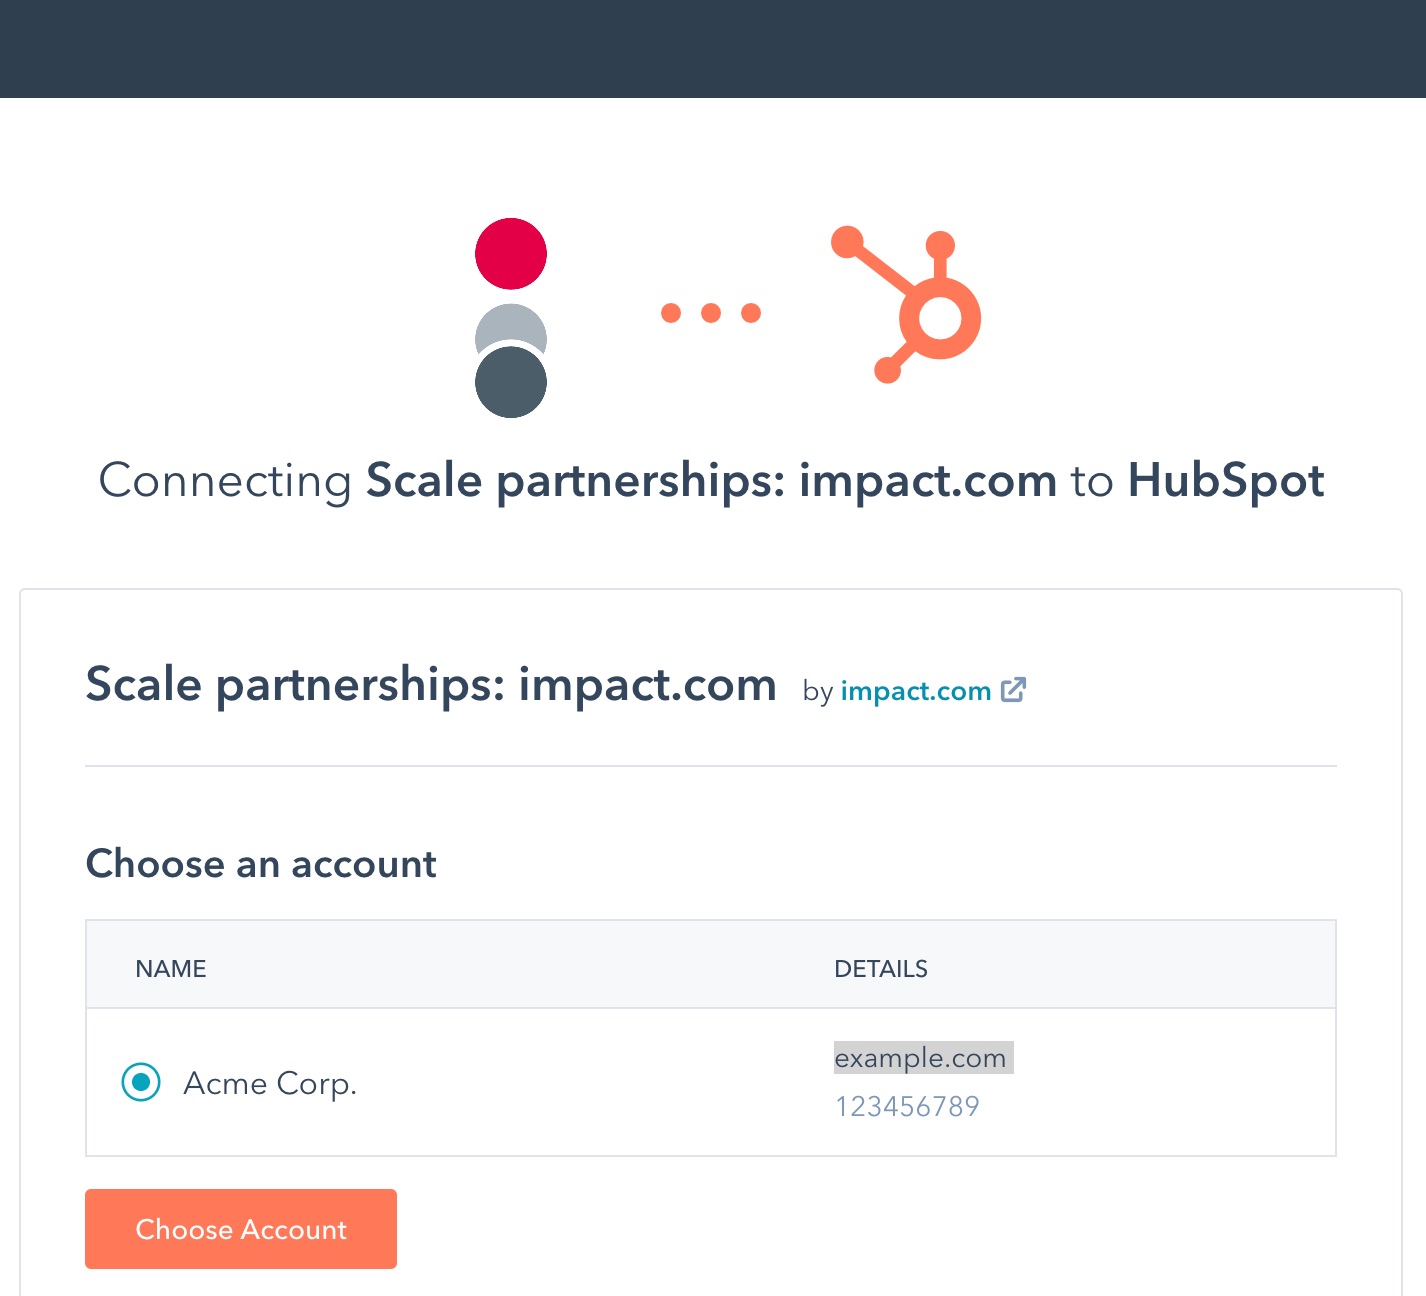
Select the HubSpot account you want to connect, then select Choose Account.
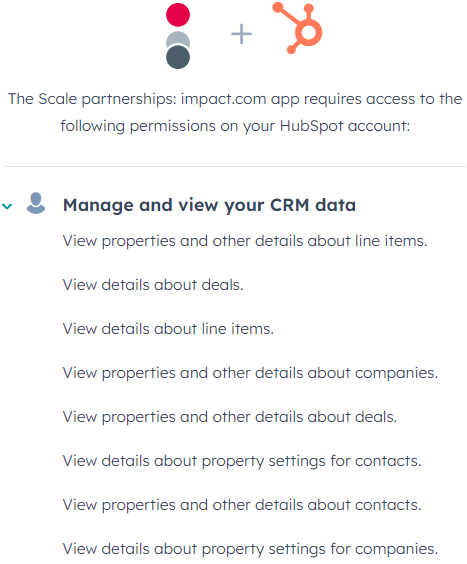
Review the access that impact.com is requesting, then select Connect app.
Once completed, you'll be redirected back to the app configuration page to enable and configure it.
Connect your impact.com account
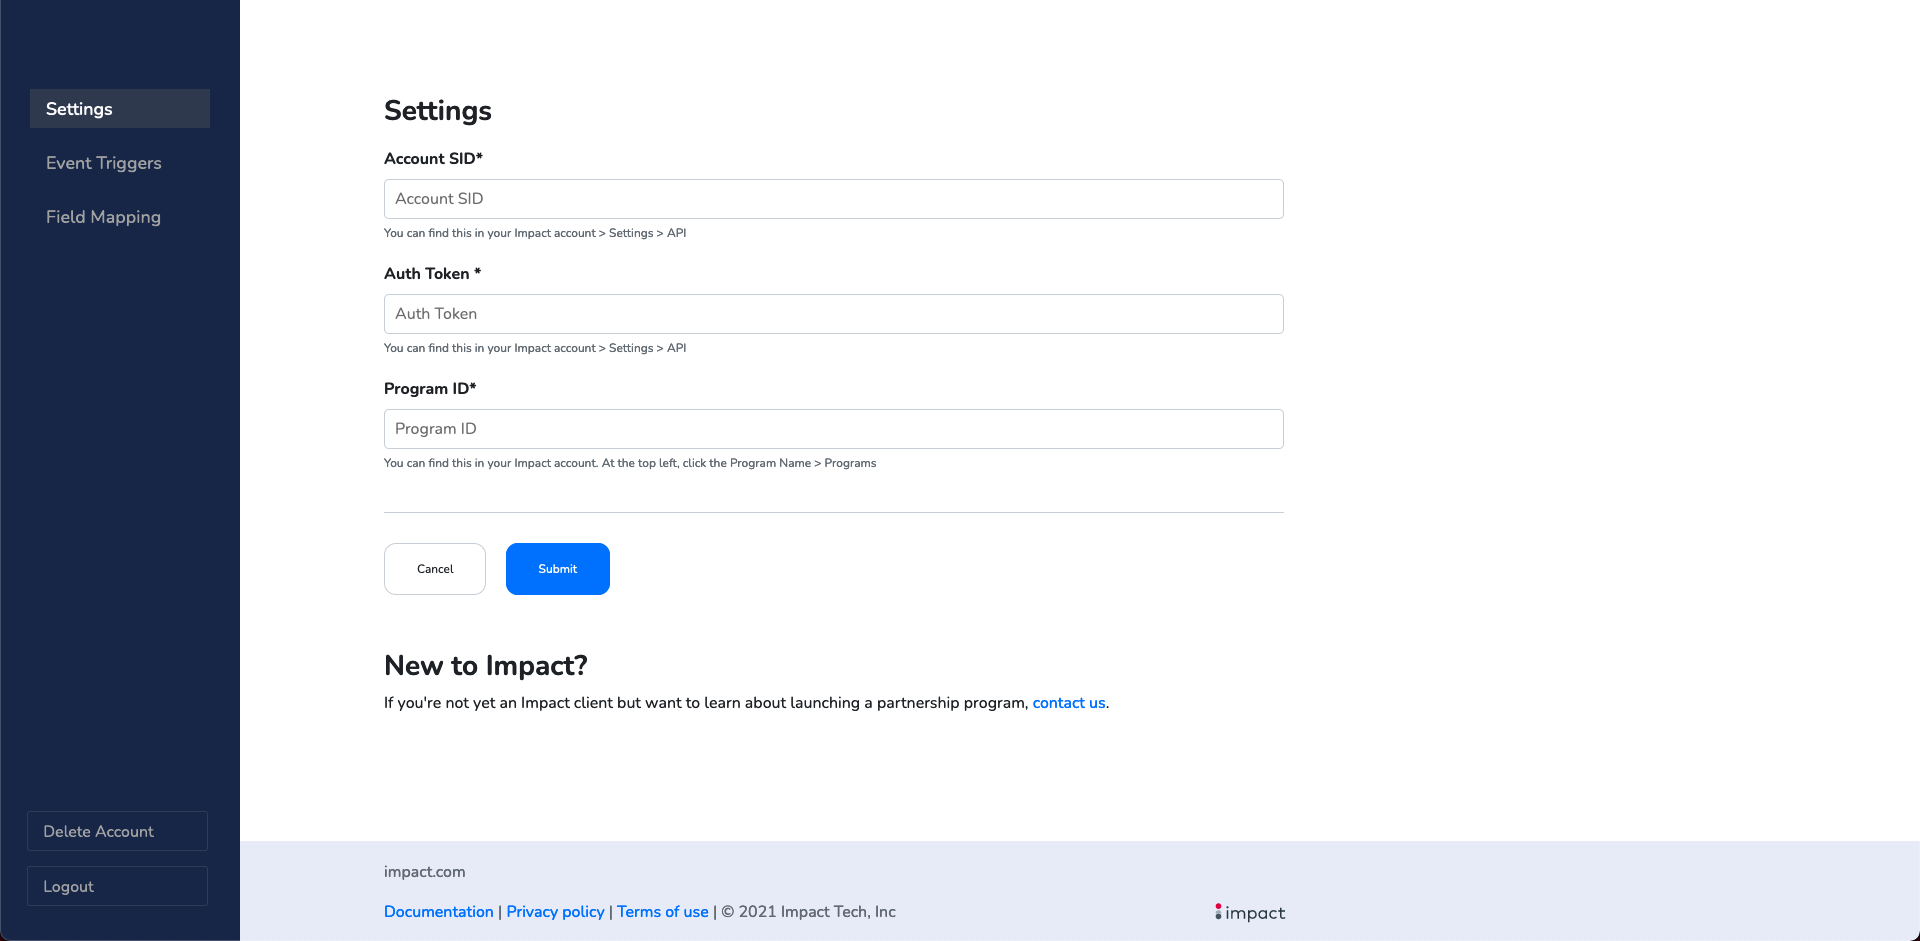
Navigate to the Connector website — in the impact.com / HubSpot plugin menu, select Settings.
Add your Account SID, Auth Token, and Program ID:
Account SID * — In the impact.com platform, navigate to your API Credentials to find your Account SID.
Auth Token * — In the impact.com platform, navigate to your API Credentials to find your Auth Token.
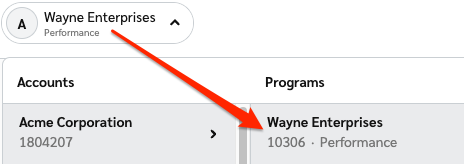
Program ID * — In the impact.com platform, select your account name in the upper-left corner and copy the gray numeric string below your program name in the right column.
- Select Submit to connect your impact.com account.
Configure the impact.com / HubSpot app
Enable event triggers
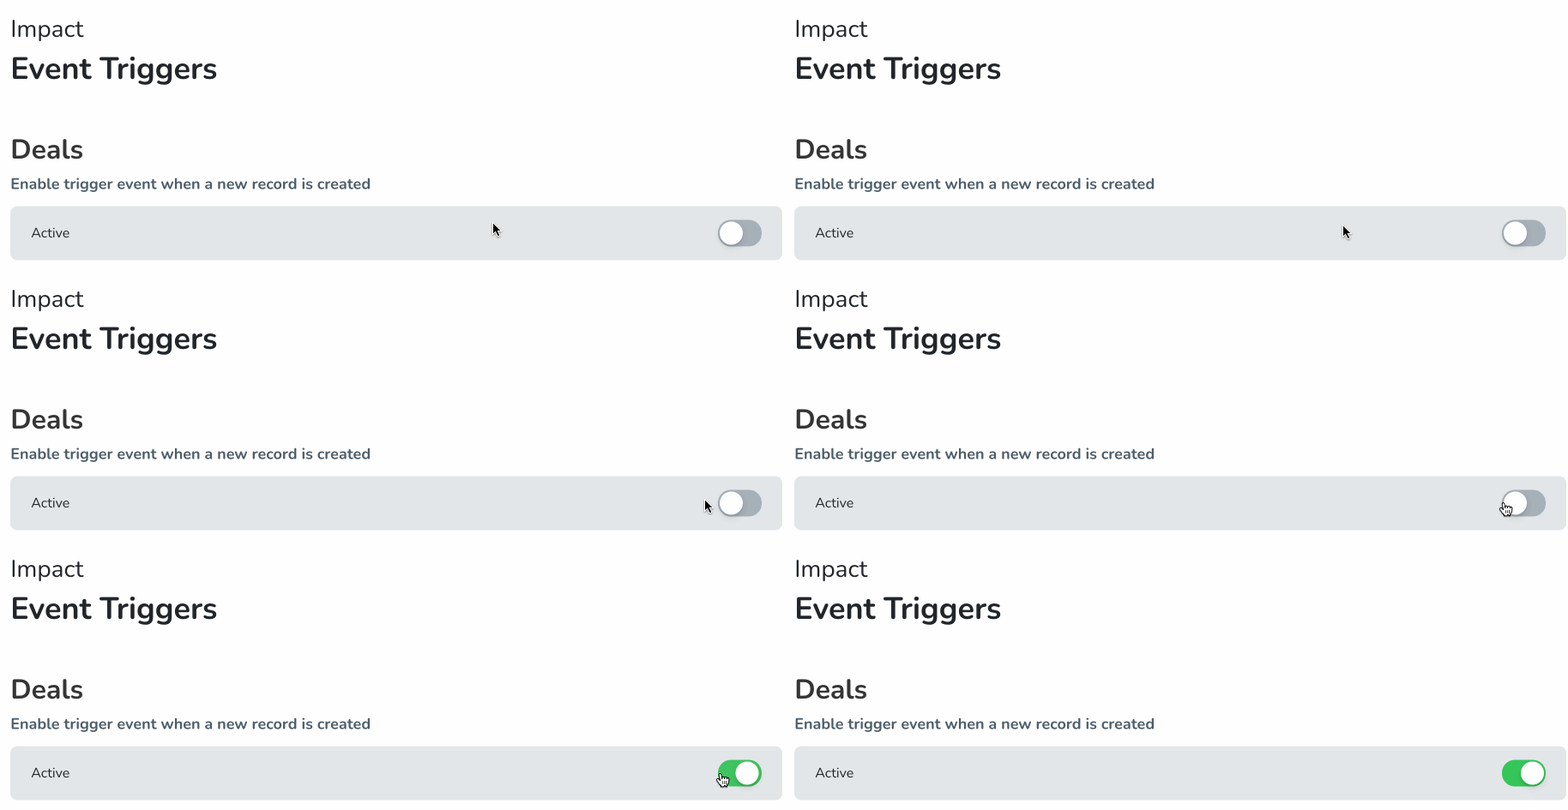
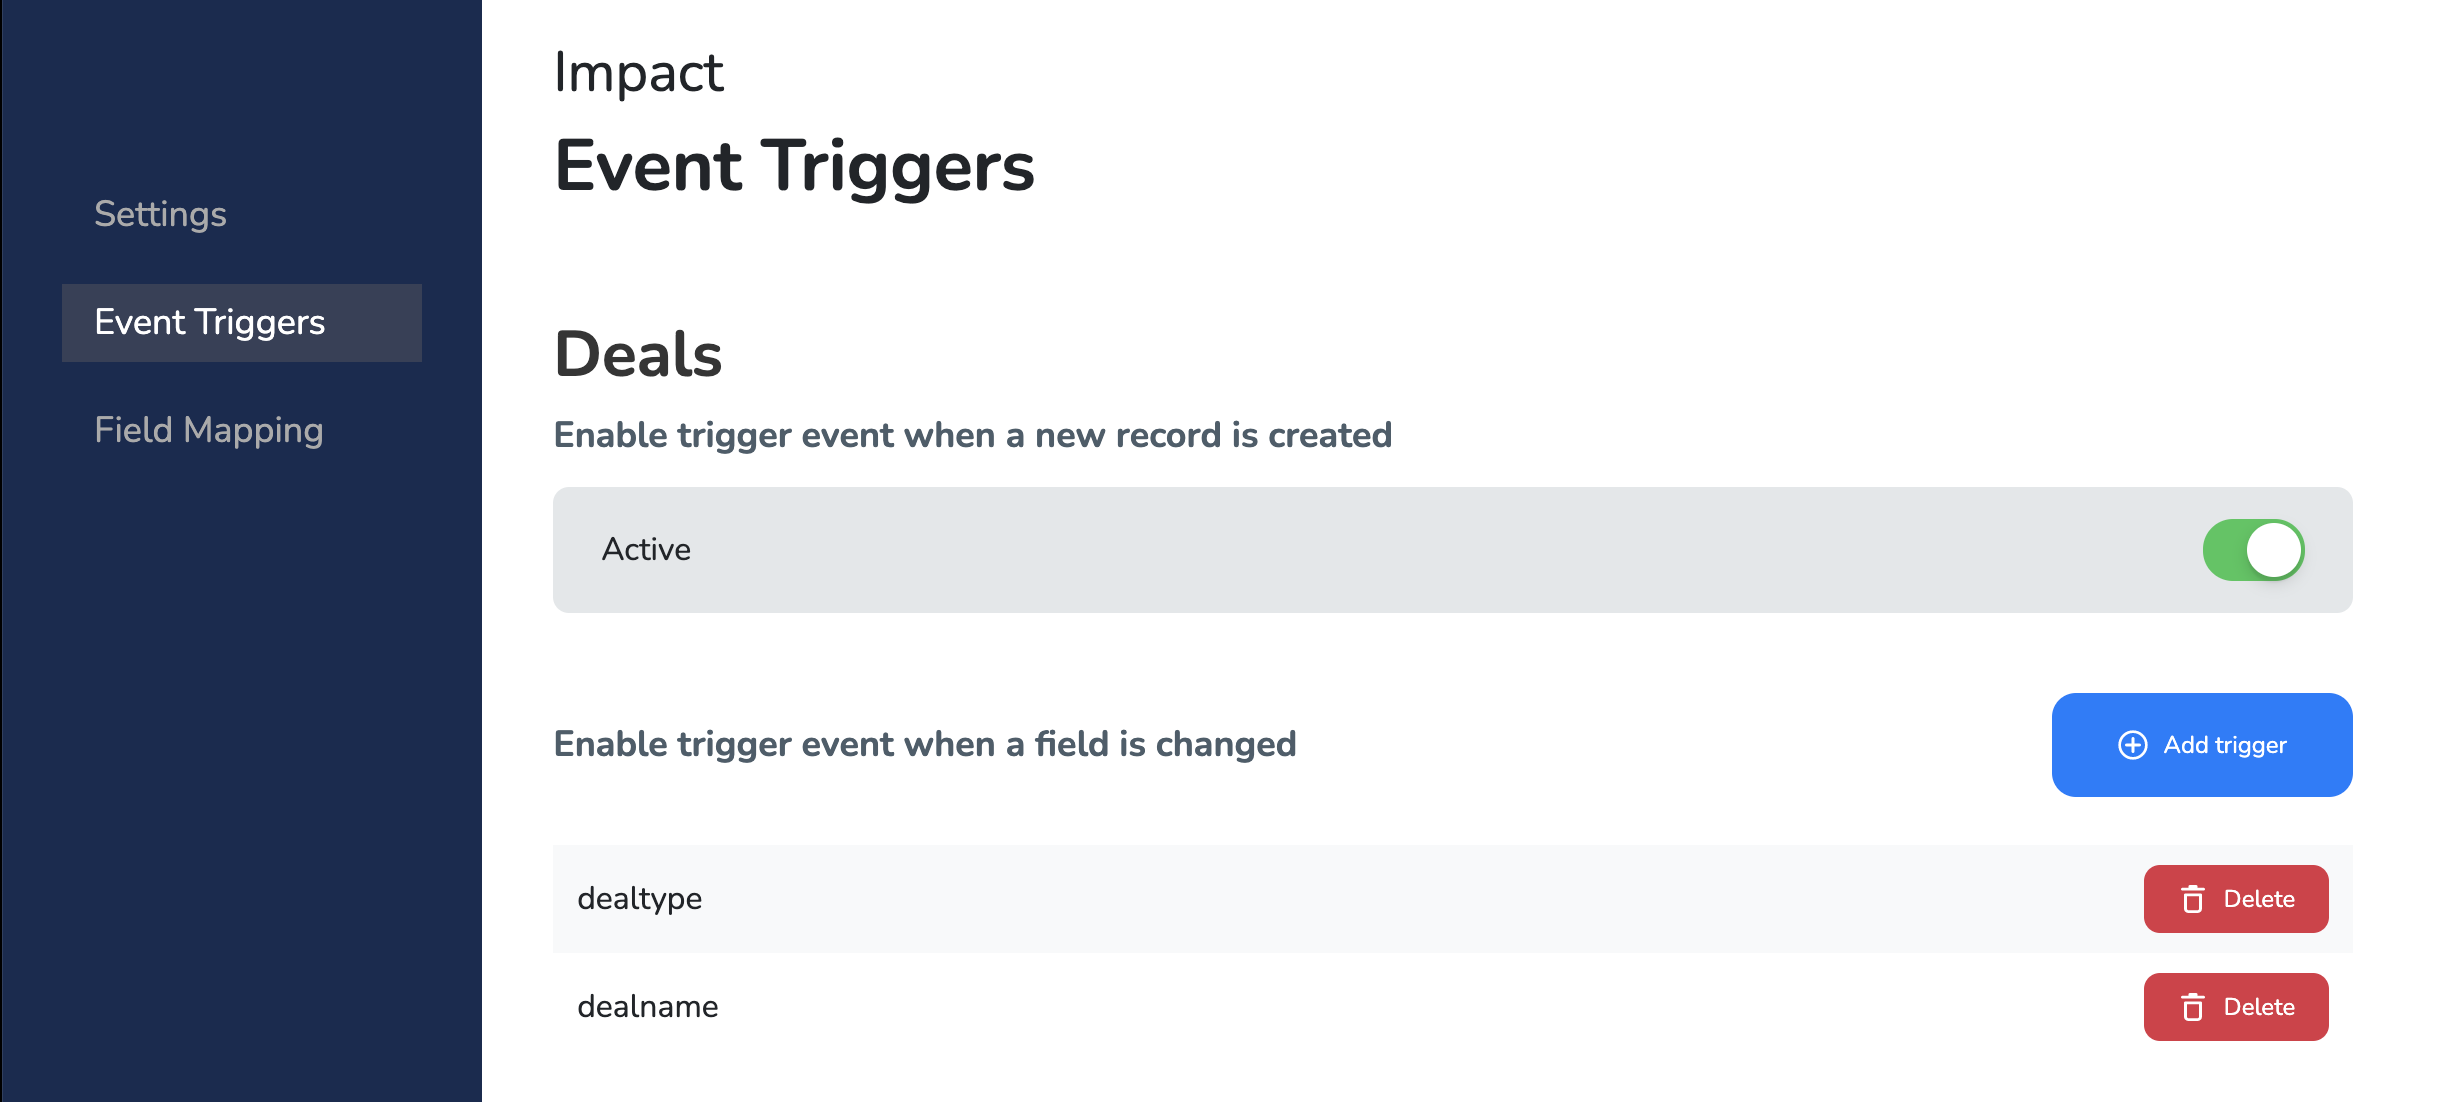
Use the Event Triggers screen to enable and disable the types of events you want to track in impact.com.
Set an event trigger to Active
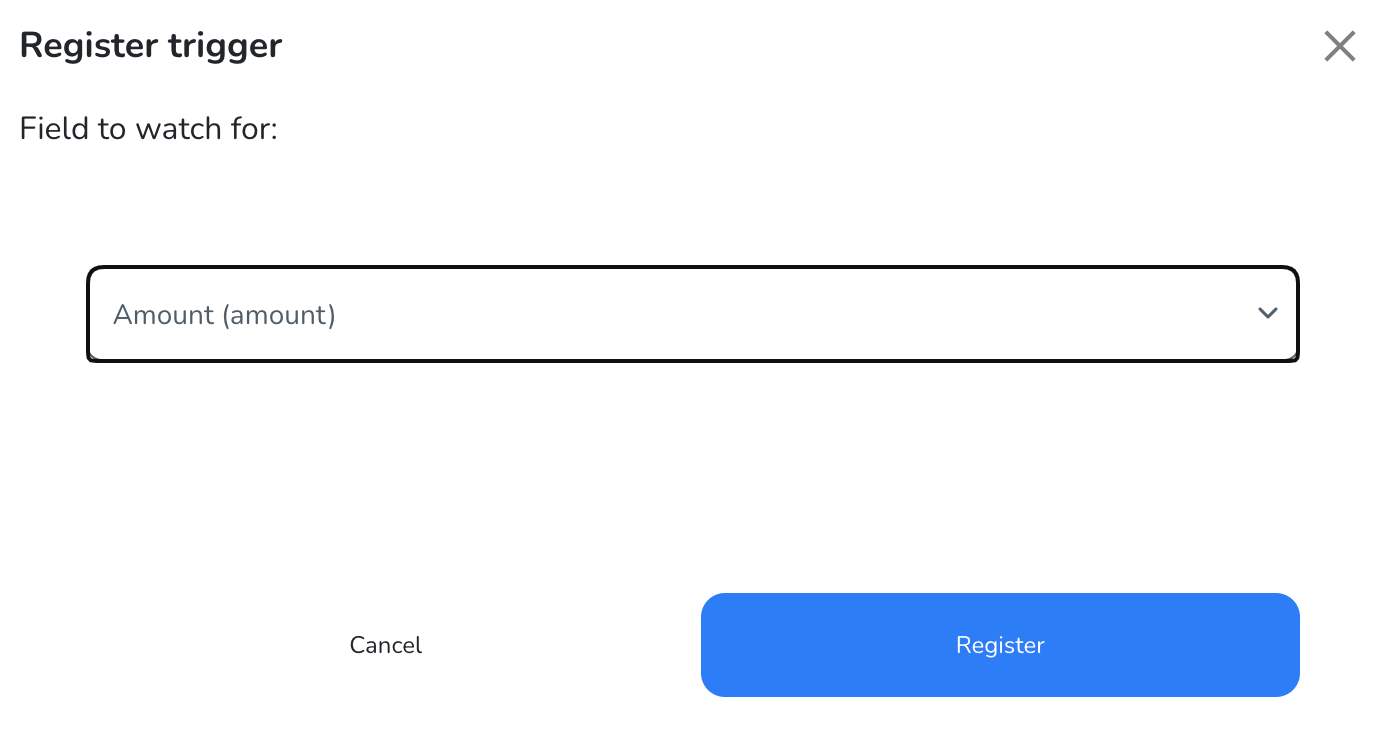
if you want impact.com to track a conversion (and thus, create an action) when a record of the specified event is created.Select Add trigger for an event if you want impact.com to track a conversion (and thus, create an action) when a record of the specified event is modified.
Adding multiple triggers acts as an
ORstatement. For example, ifDeal Type (dealtype)andDeal Name (dealname)are added, a conversion event will be created whenever either field is modified.
Configure field mappings
The Field Mappings section is where you can specify which HubSpot fields are associated with impact.com fields to ensure accurate conversion (and action) reporting in impact.com.
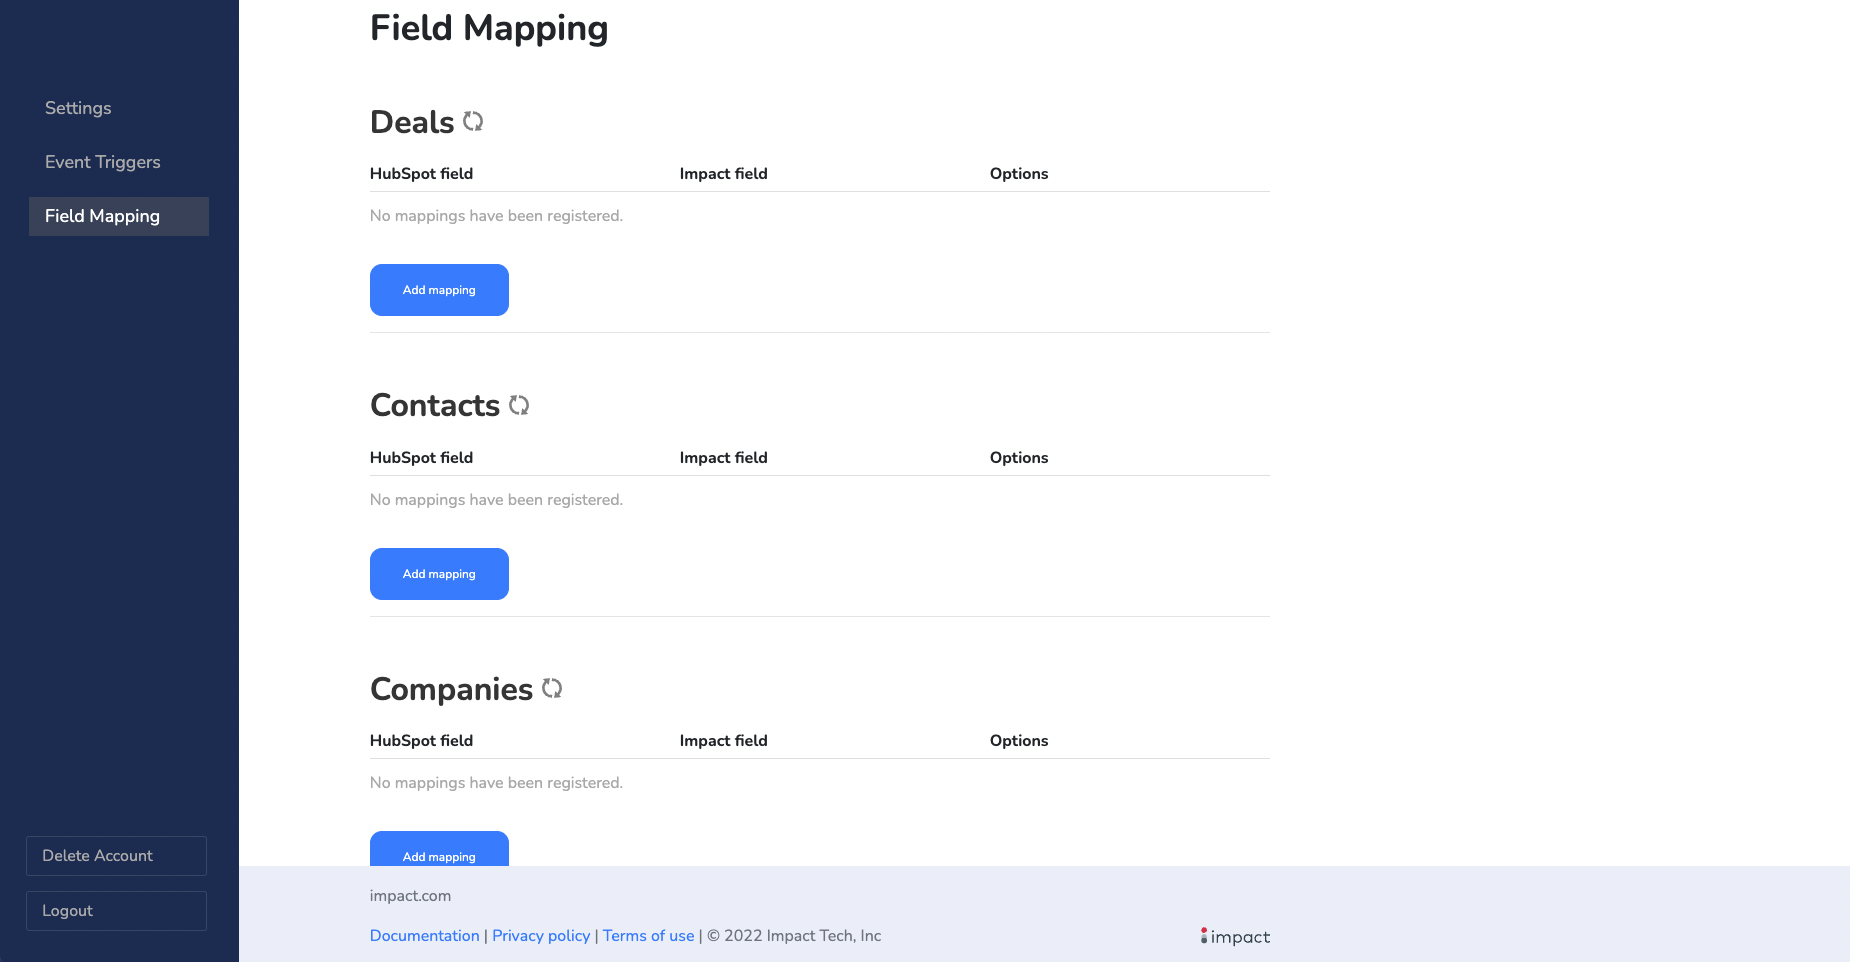
Below are examples of field mappings for companies.
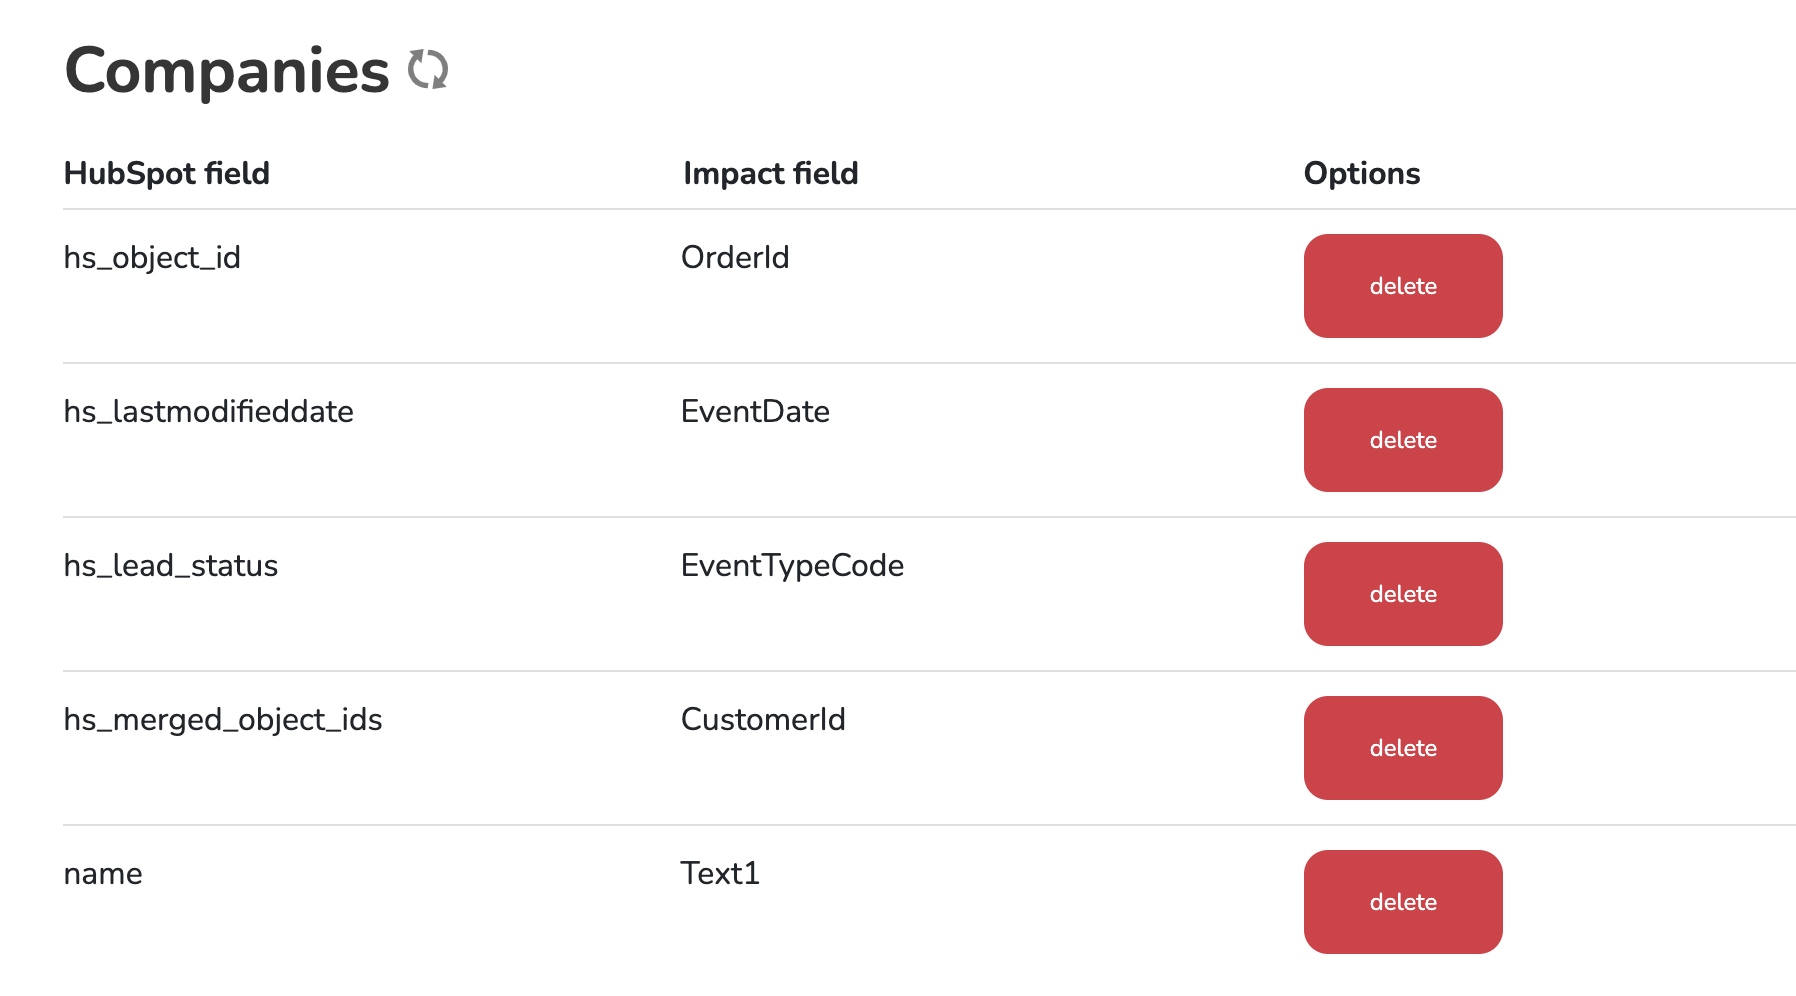
- Select Add mapping under an event to map a HubSpot field to an impact.com field.
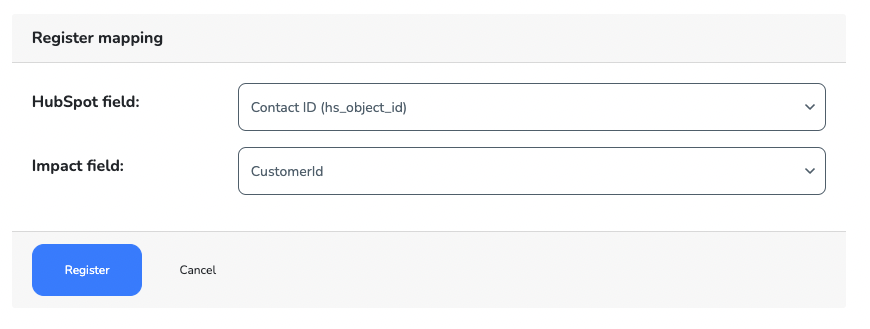
Refer to the tables below for examples of associated mappings. For each section, select Add mapping to add them.
Note: These are example mappings that show different configurations. Choose mappings that apply to your integration, since you probably won't need them all.
Contacts
| HubSpot Field (Parameter) | impact.com Field |
|---|---|
Lifecycle Stage (lifecyclestage) | EventTypeCode |
Contact ID (hs_object_id) | CustomerId |
Contact Lead Status ID (contact_[lead_status]_id) | OrderId |
Last Modified Date (lastmodifieddate) | EventDate |
Company Name (company) | Text3 |
City (city) | CustomerCity |
Country/Region (country) | CustomerCountry |
Postal Code (zip) | CustomerPostCode |
Impact Click ID (custom_impact_click_id) | ClickId |
Deals
| HubSpot Field (Parameter) | impact.com Field |
|---|---|
Deal Stage (deal_[deal stage]) | EventTypeCode |
Deal ID (hs_object_id) | CustomerId |
Deal Stage ID (deal_[stage]_id) | OrderId |
Last Modified Date (hs_lastmodifieddate) | EventDate |
Close Date (closedate) | Text3 |
Deal Stage Probability (hs_deal_stage_probability) | Text2 |
Amount (amount) | OrderSubTotal |
Line items
You can add the following field mappings to your deals mapping to include specific line item attributes:| HubSpot Field | impact.com Field |
|---|---|
Line Item hs_sku (line_item{i}.hs_sku) | ItemSku{i} |
Line item name (line_item{i}.name) | ItemName{i} |
Line item price (line_item{i}.price) | ItemPrice{i} |
For more information, see a detailed example in Hubspot Line Items.
Note: If you have set up any custom fields that are not available in the mapping dropdown, please try refreshing the custom fields by selecting the  [Circle] next to the section title.
Uninstall impact.com from HubSpot
Uninstall in HubSpot
Uninstalling impact.com in HubSpot will essentially pause the integration — if objects are updated or changed in HubSpot, it won't be reported to impact.com. Your settings will remain the same in case you wish to reinstall the integration in the future.
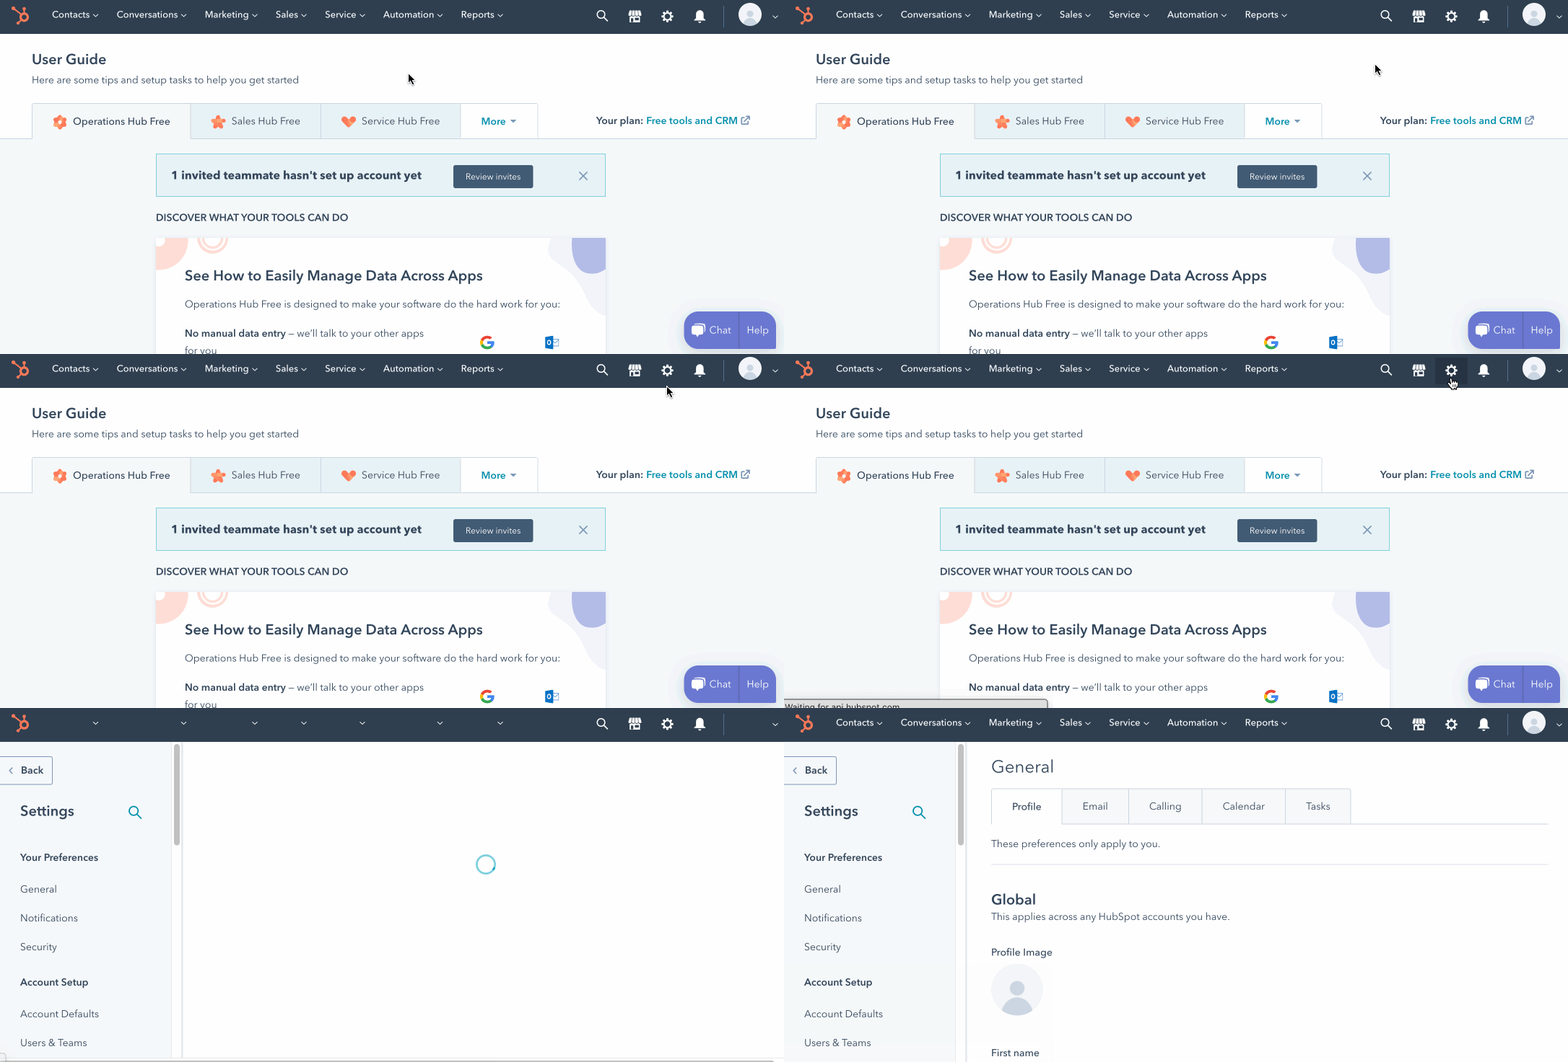
Log in to your HubSpot account — in the top navigation bar, select Settings
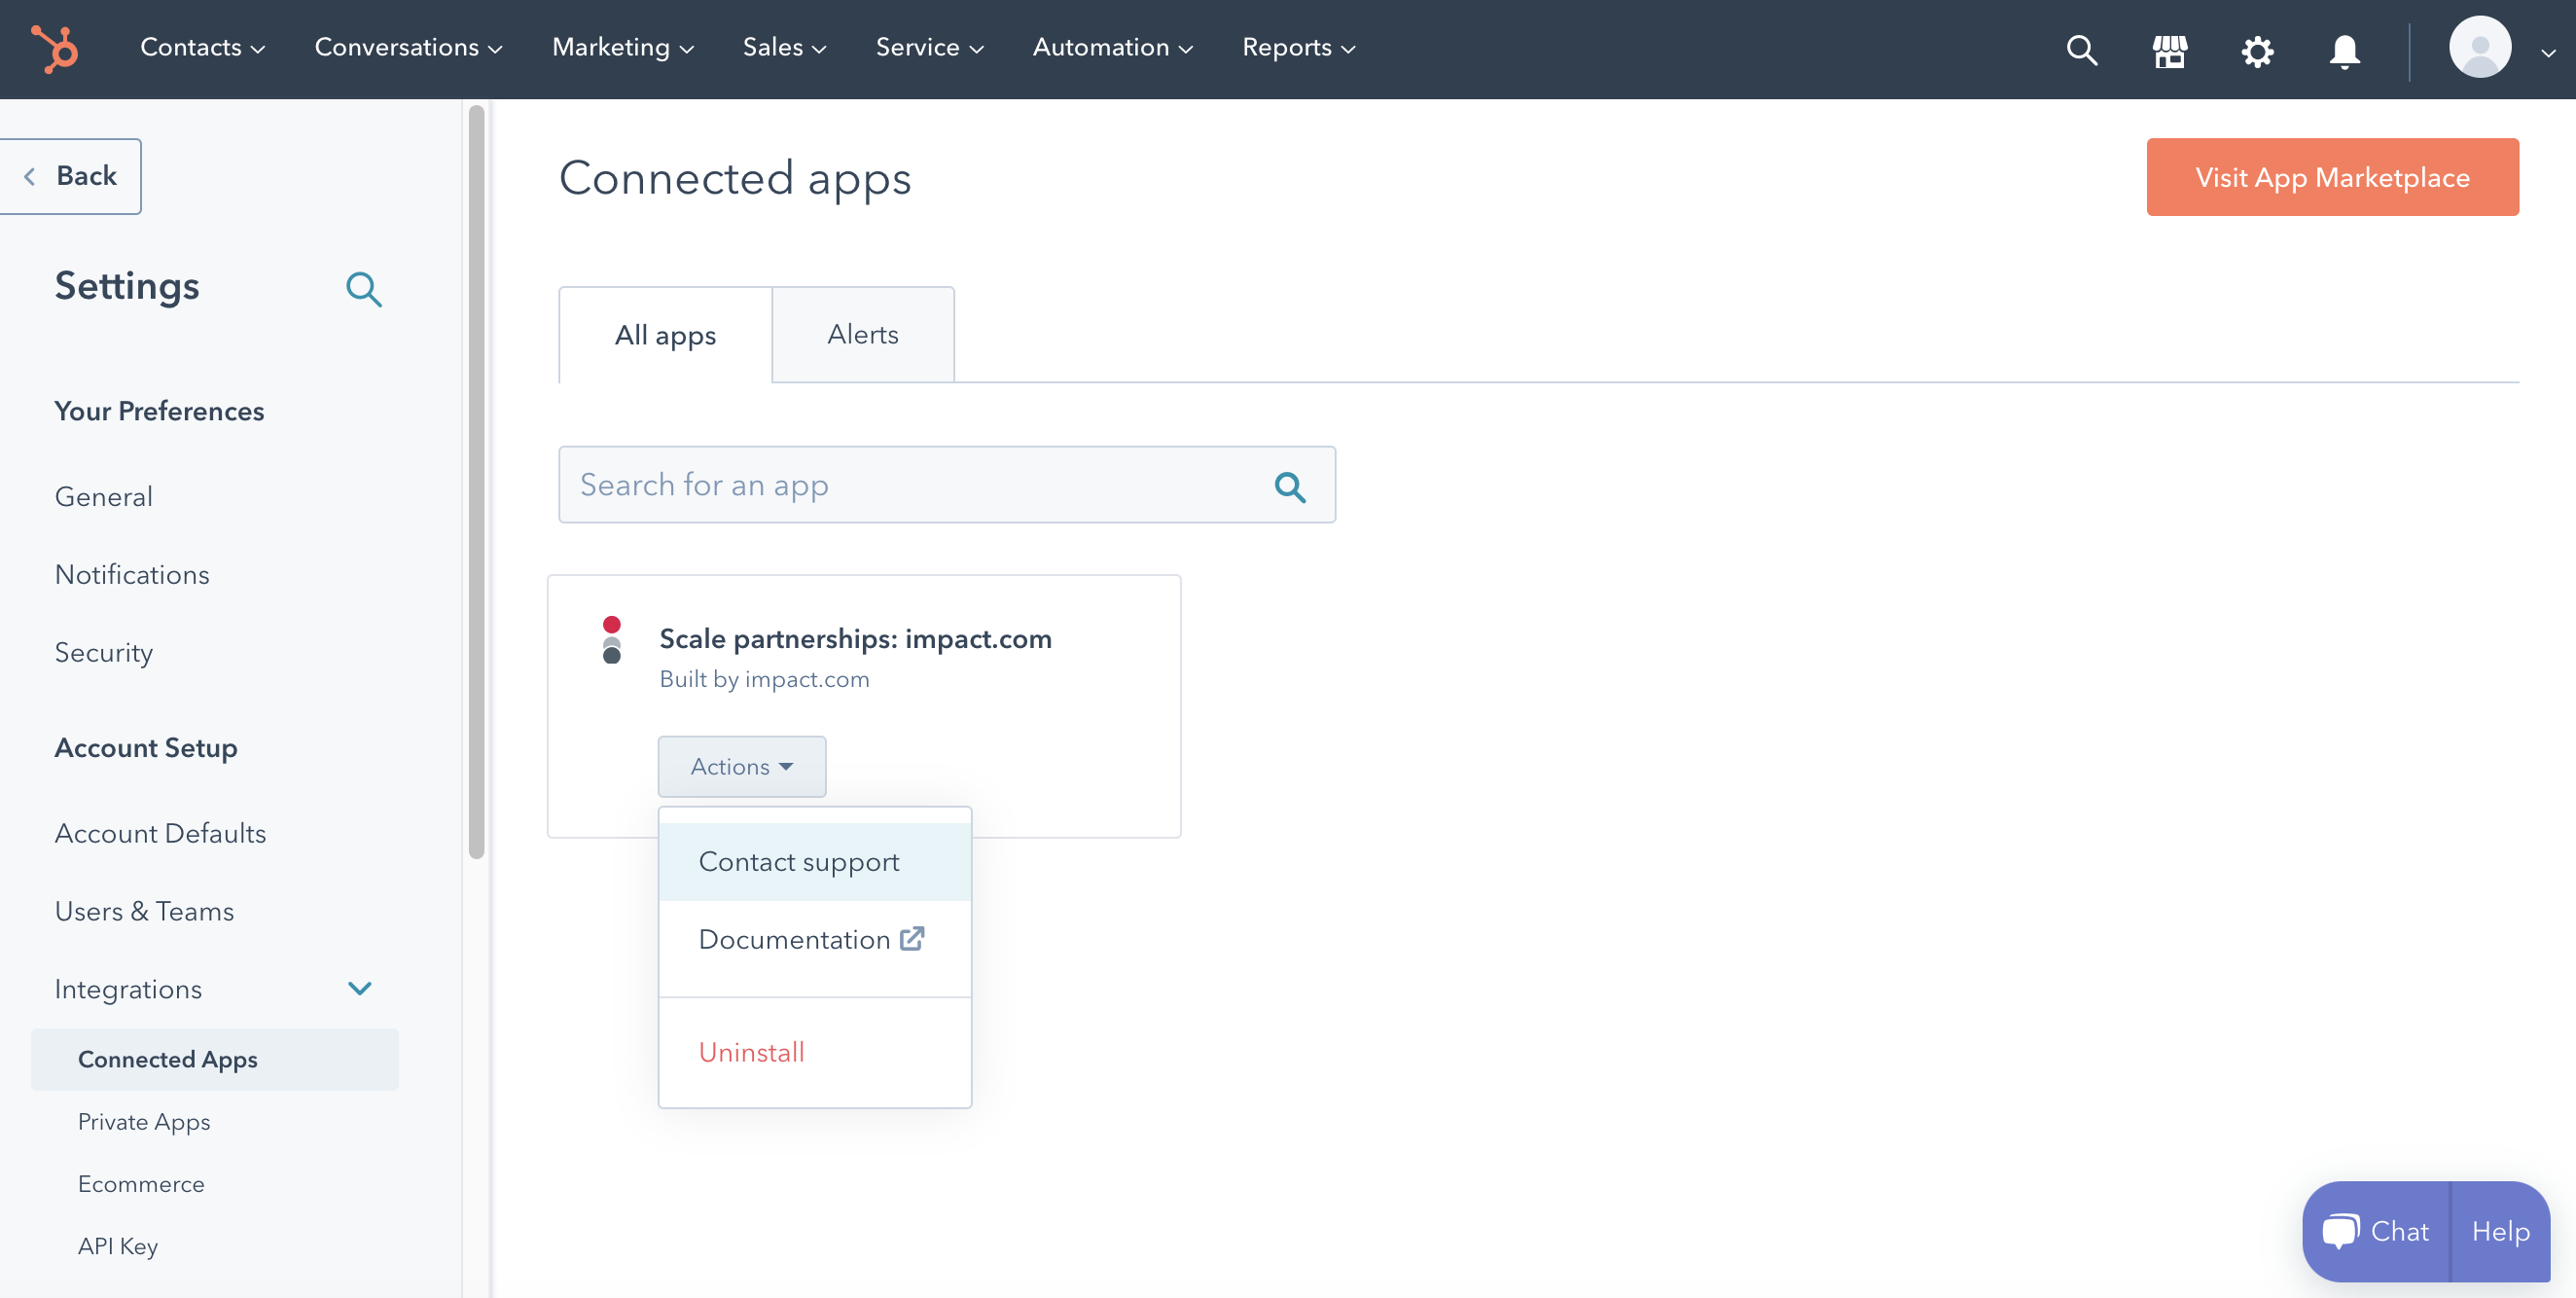
.In the left navigation menu, select Integrations → Connected Apps.
Find the Scale partnerships: impact.com app and select Actions → Uninstall.
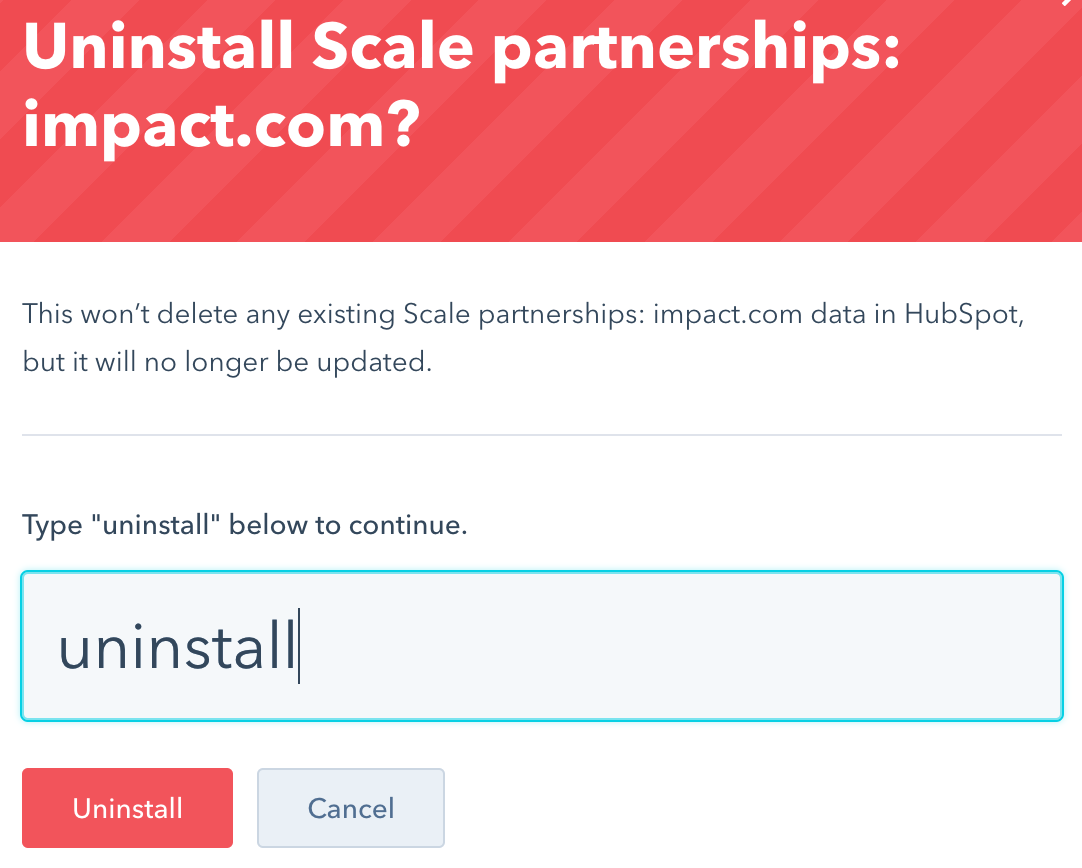
Read the prompt, type
uninstallinto the text field and select Uninstall.
Delete account in impact.com extension dashboard
Deleting your account in the impact.com / HubSpot extension dashboard will delete your entire configuration. If you wish to use the integration in the future, you will need to reconfigure everything from scratch.
Navigate to the Connector website.
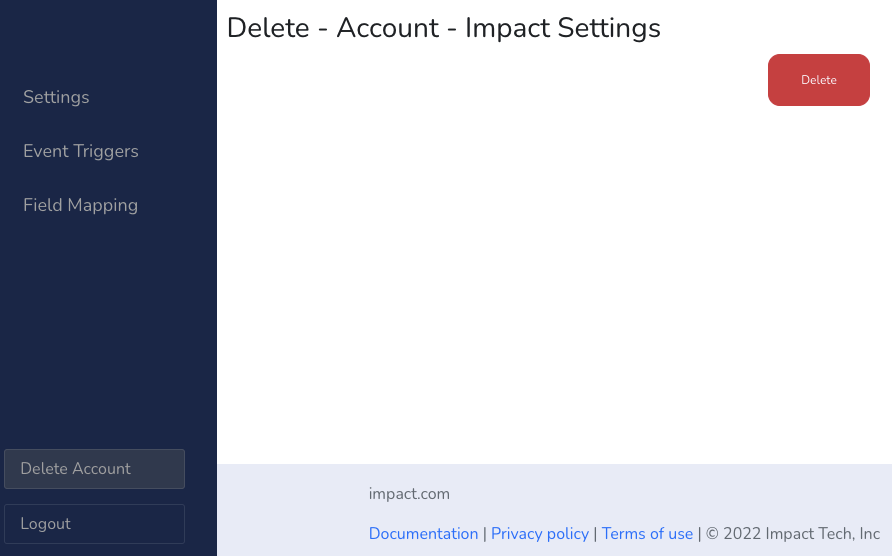
In the left navigation menu, select Delete Account.
Select Delete to delete your account configuration.
Updated about 16 hours ago

