Integrate with WooCommerce
The impact.com plugin on WooCommerce makes it easy to recruit, track, and manage publishers that want to promote your online store. Our WooCommerce app is a quick plug-and-play solution to integrating impact.com with your website without needing coding knowledge or extensive developer help. Follow this step-by-step guide to learn about the process and integrate.
Integrating with WooCommerce currently requires:
- One (1) Event Type tracking online sales (no recurring subscriptions)
- A store landing page that is hosted by WooCommerce (not externally)
- Orders need to use the standard statuses: completed, pending or processing
- WooCommerce version 4.7 or newer, up to version 10
Check before integrating
Before proceeding with the WooCommerce integration, ensure you have:
- Access to your impact.com account
- Admin access to your WooCommerce store
- Your impact.com account credentials ready
- WooCommerce version 4.7 or newer (up to version 10)
Add impact.com to WooCommerce
This instruction set covers installing the impact.com plugin to your WooCommerce store.
Install impact.com's plugin
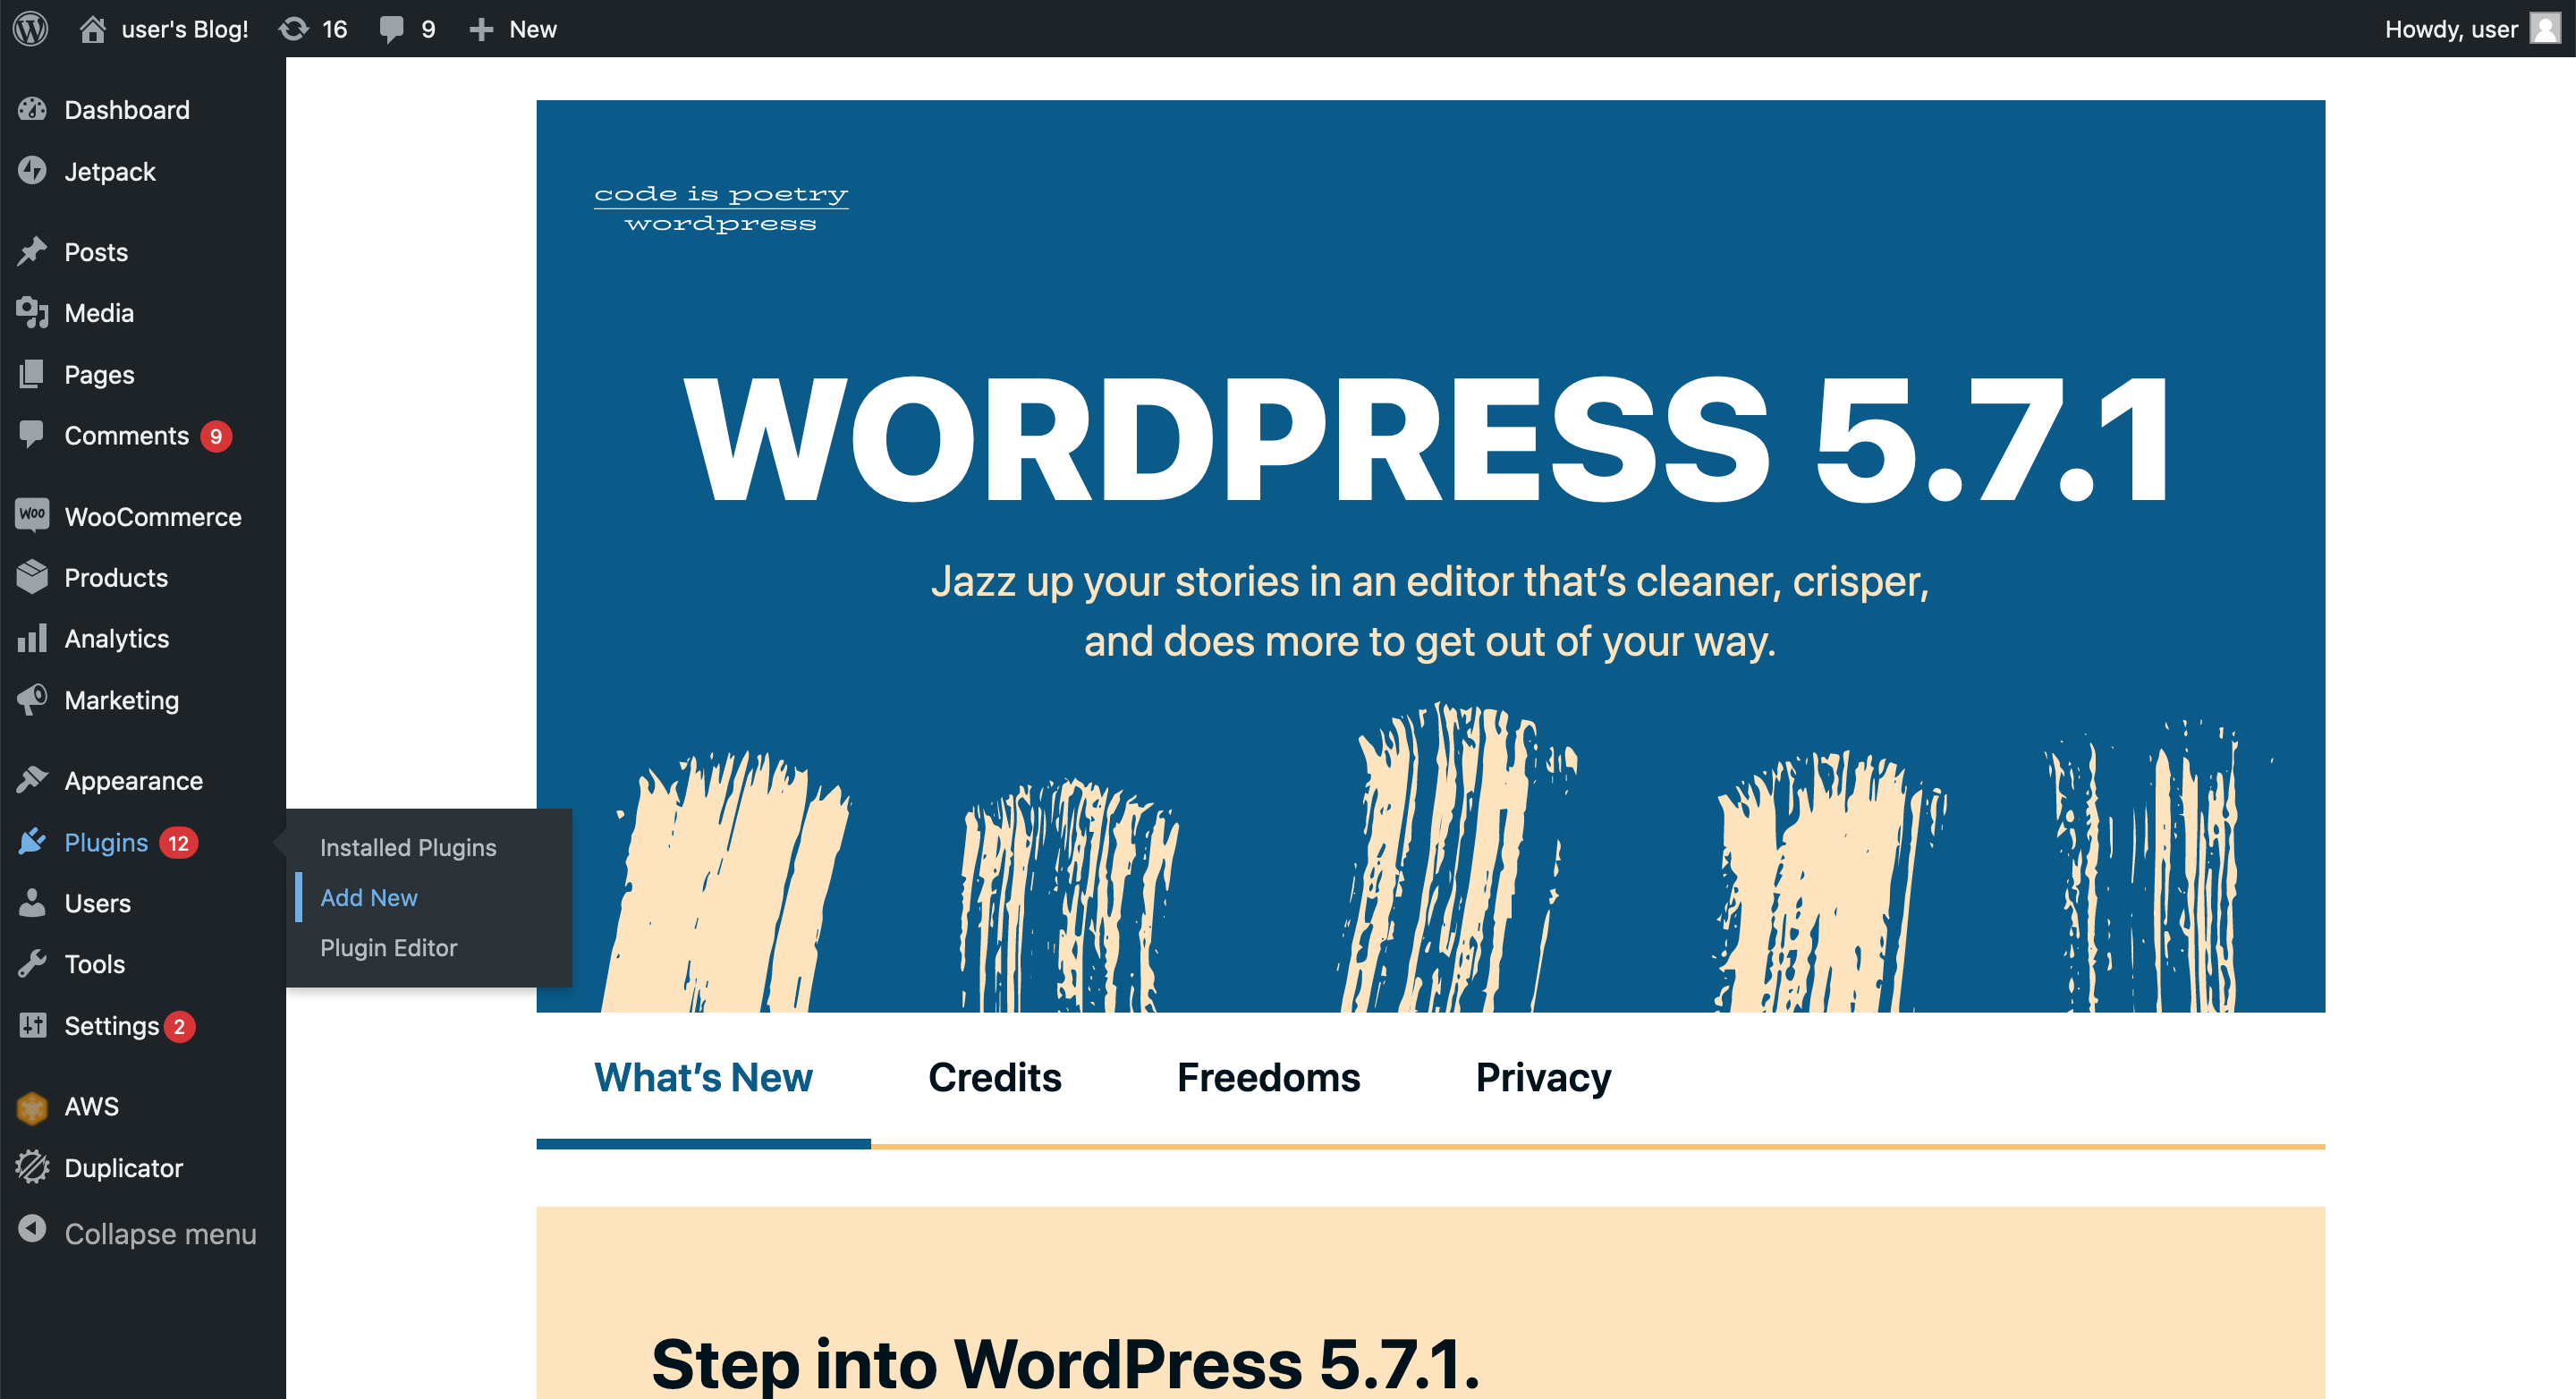
In your WooCommerce dashboard, expand the left navigation menu and select Plugins → Add New.
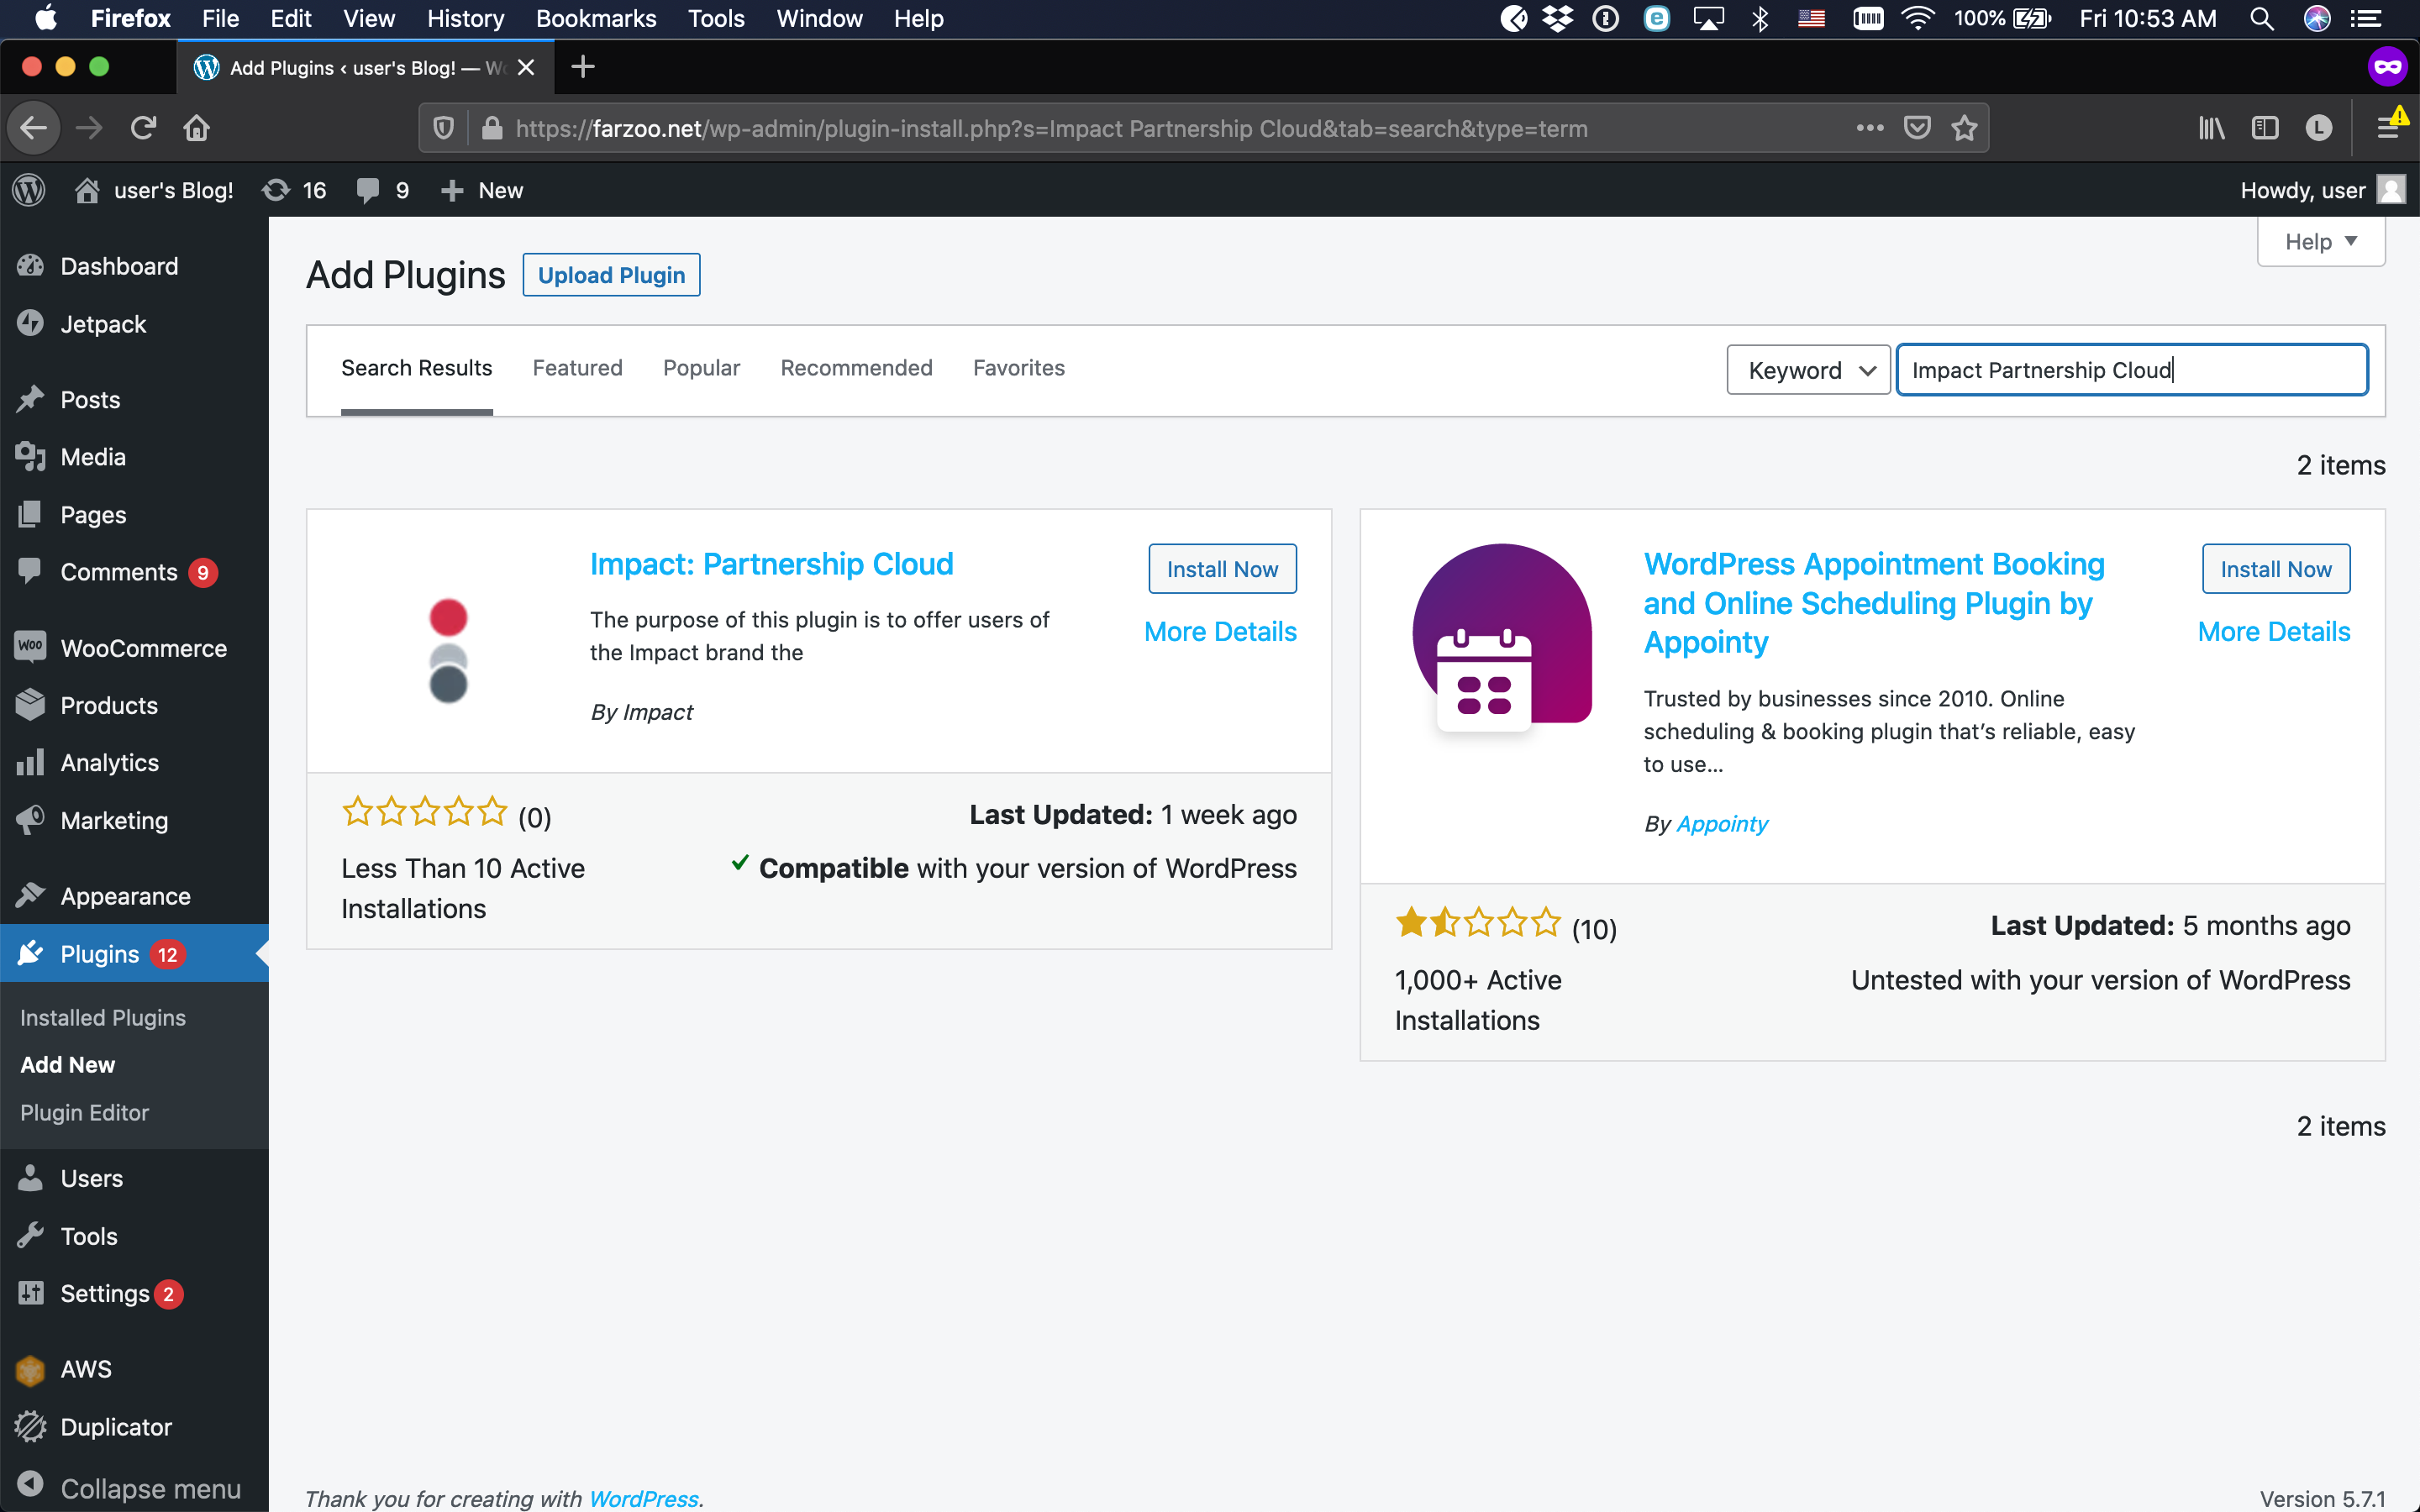
Use the search box in the upper right corner to search for Impact Partnership Cloud. Verify you've found the correct plugin (see the screenshot below) and select Install Now.
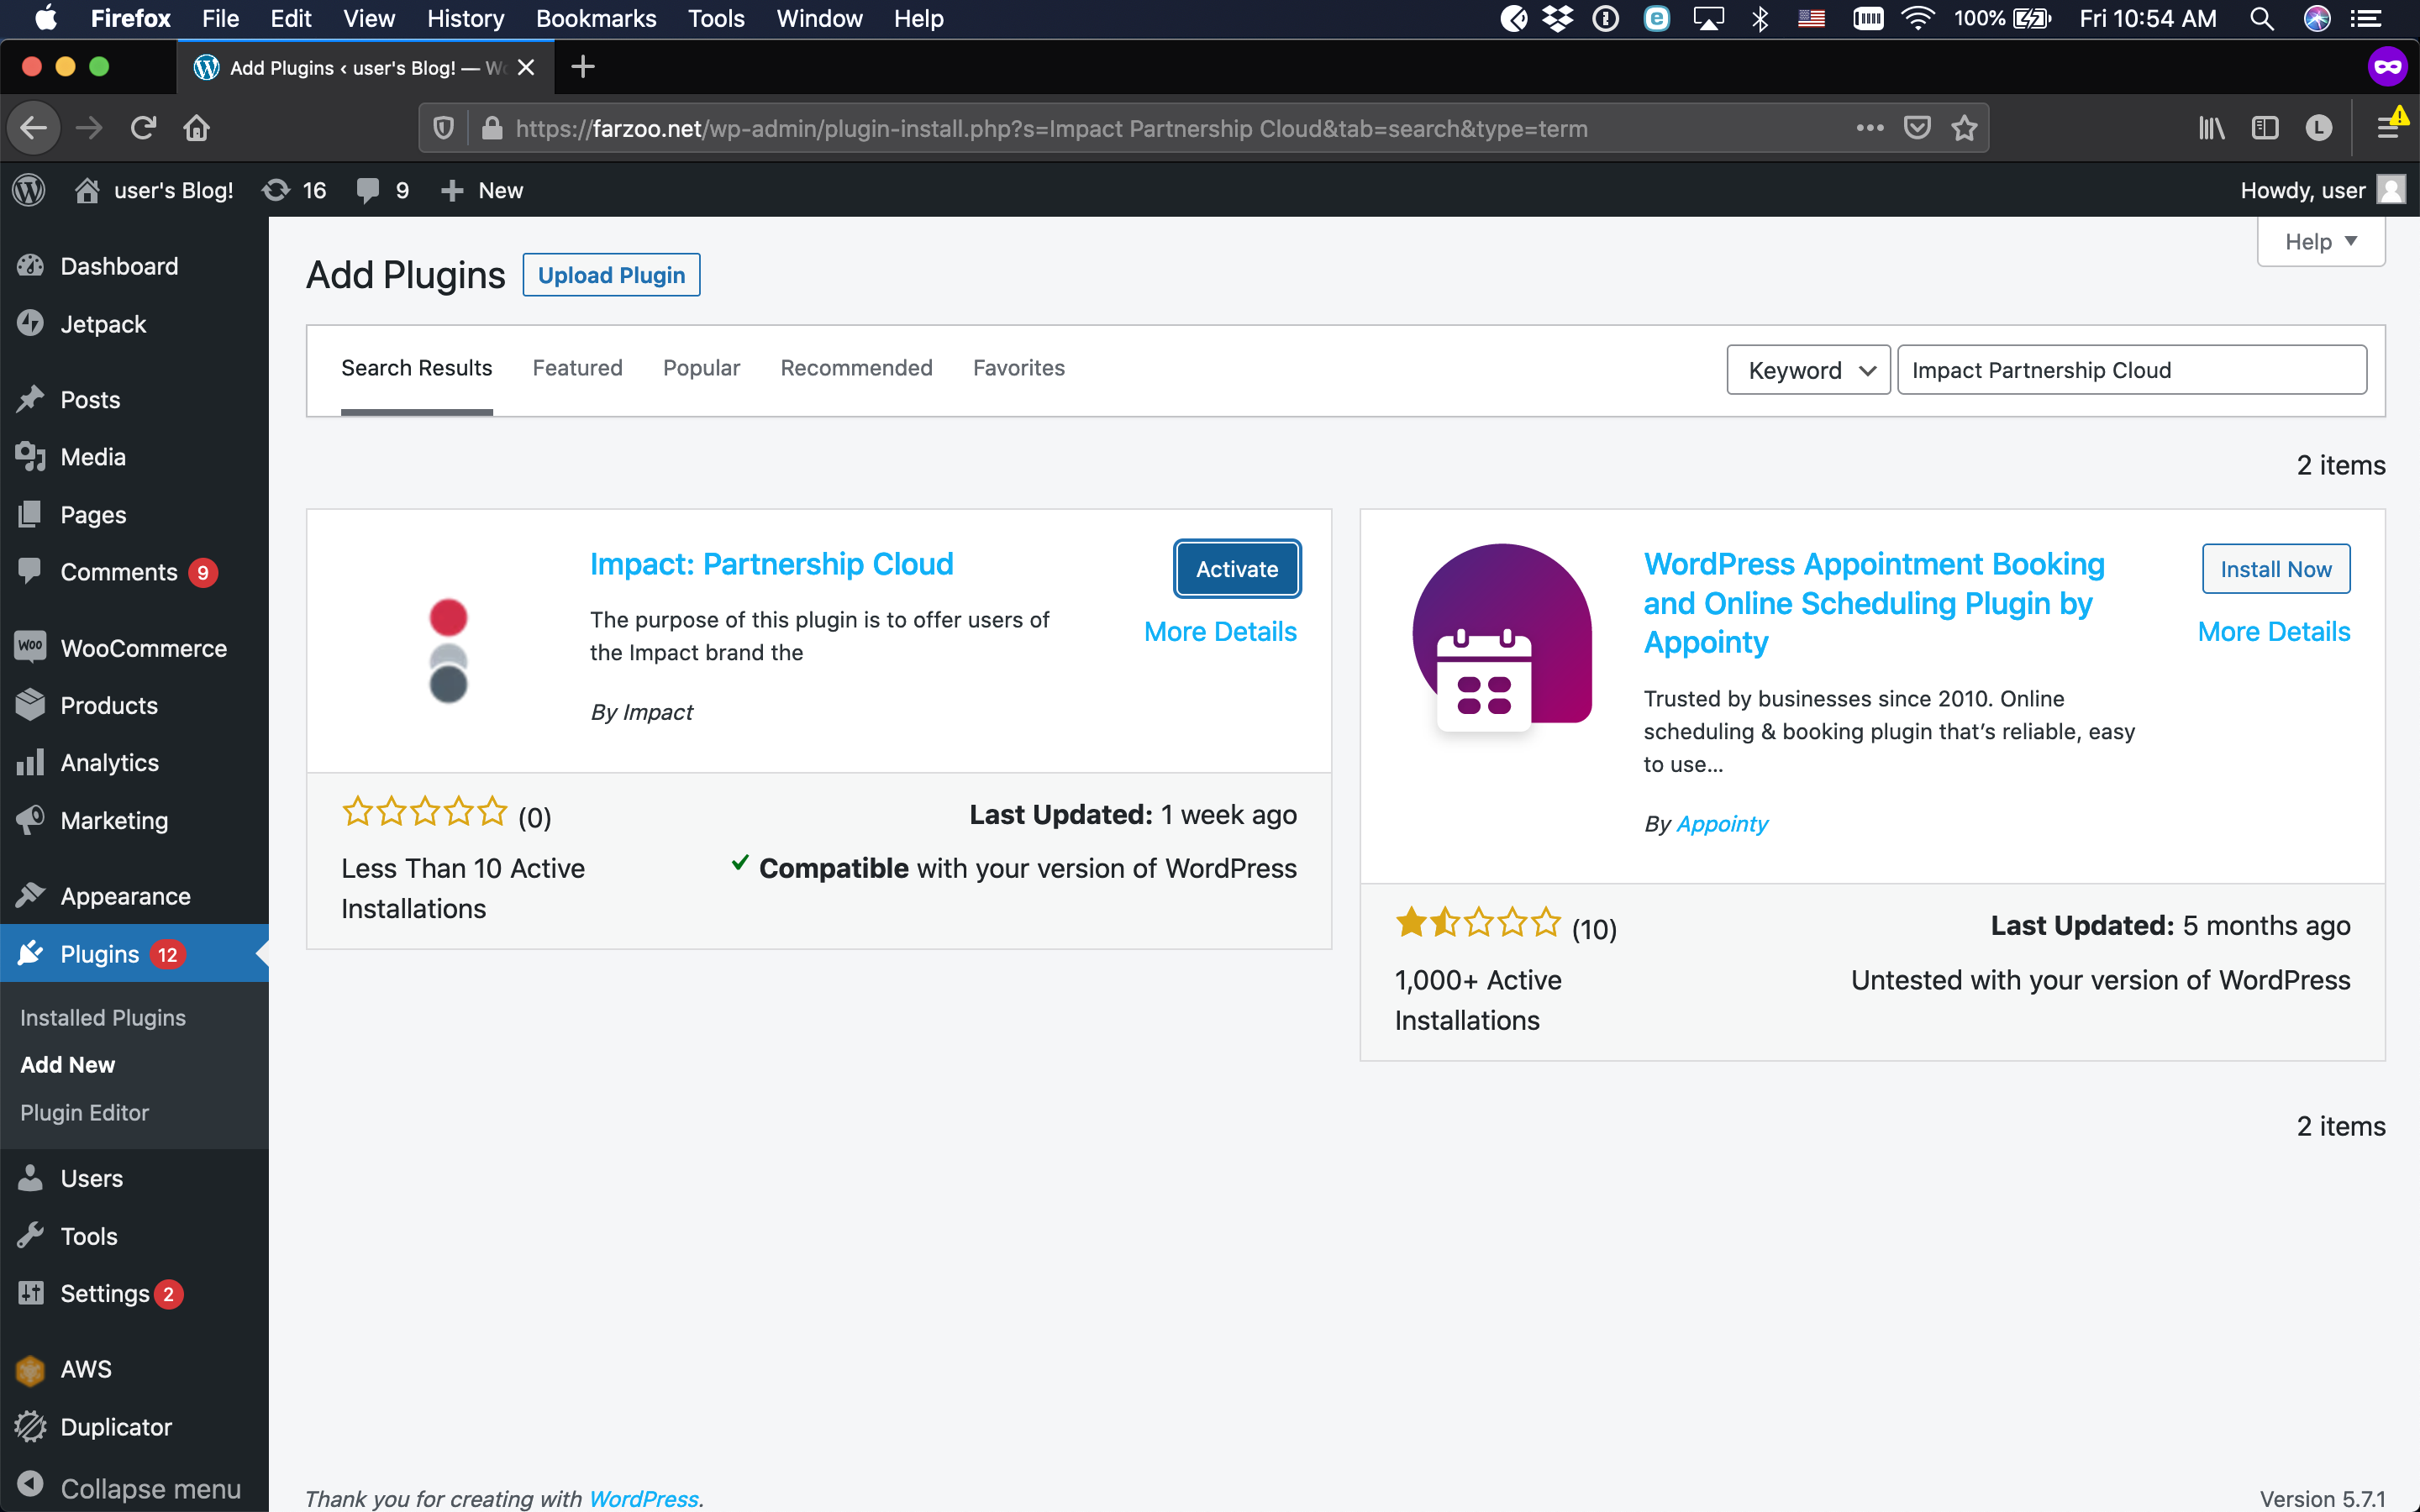
After the plugin installs, select Activate.
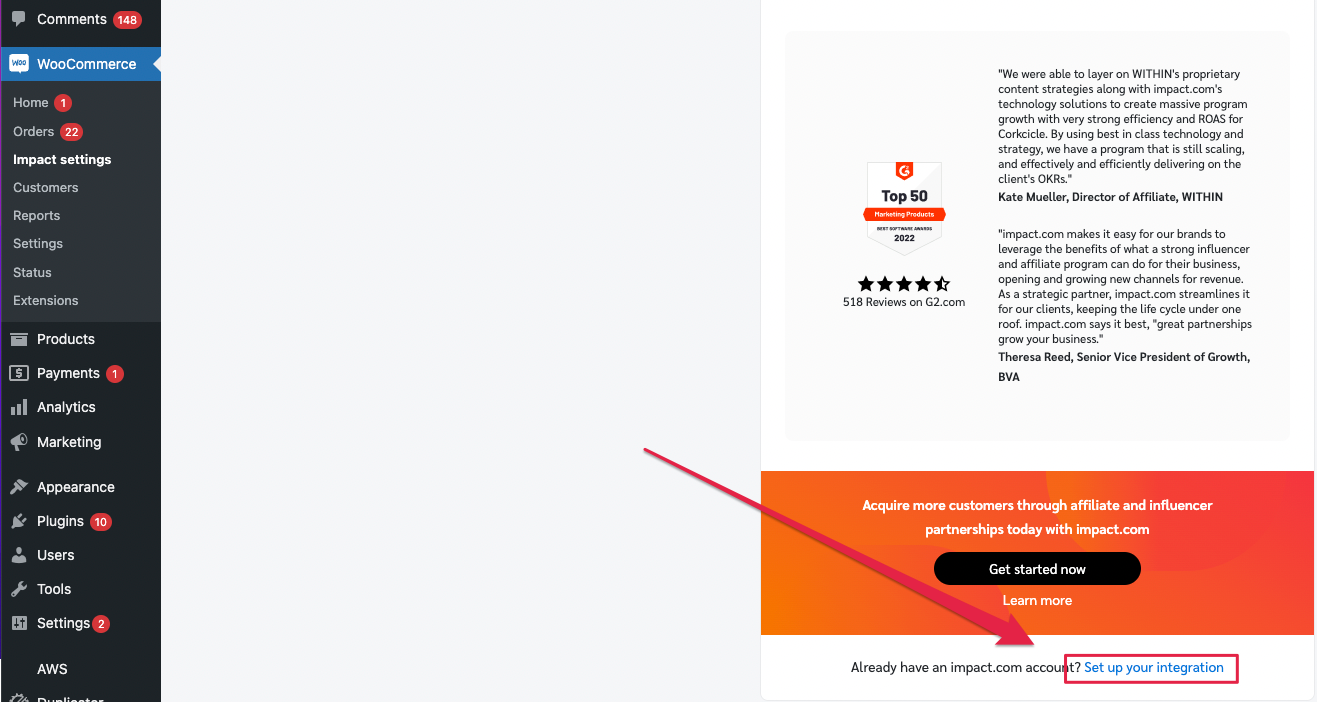
Navigate to the bottom of the landing page to Already have an impact.com account? and select Set up your integration.
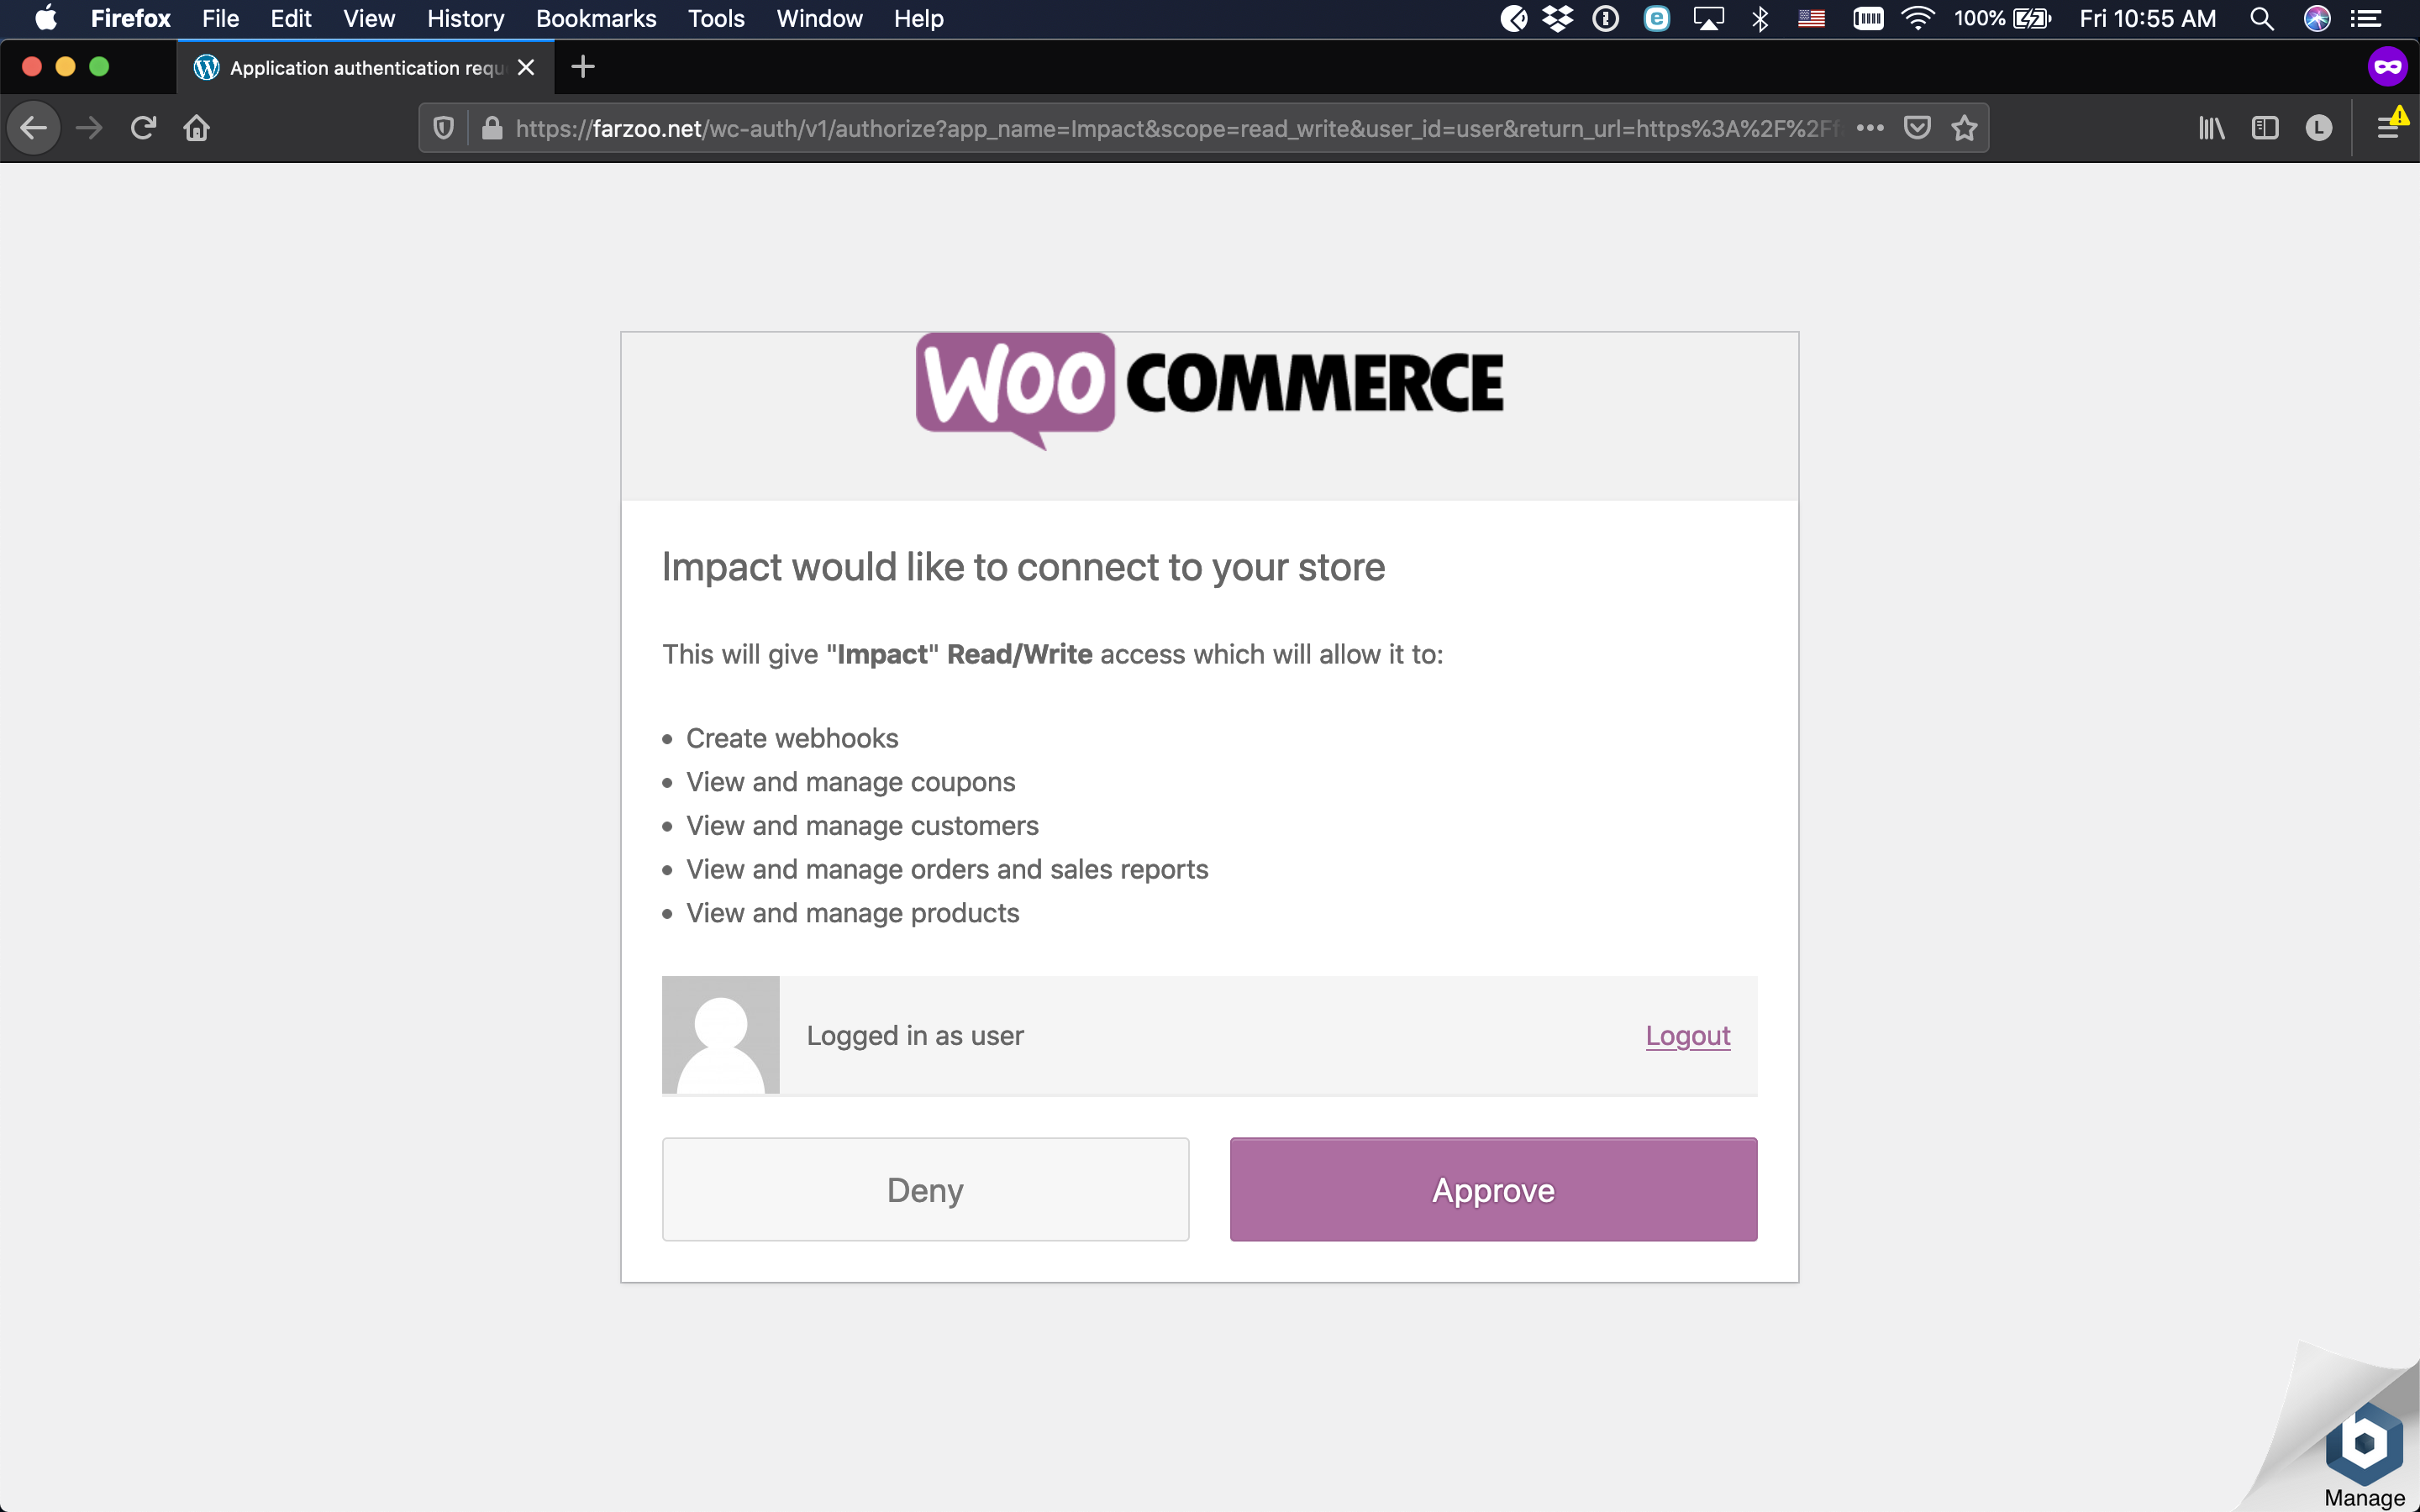
Review the access request from impact.com, then select Approve.
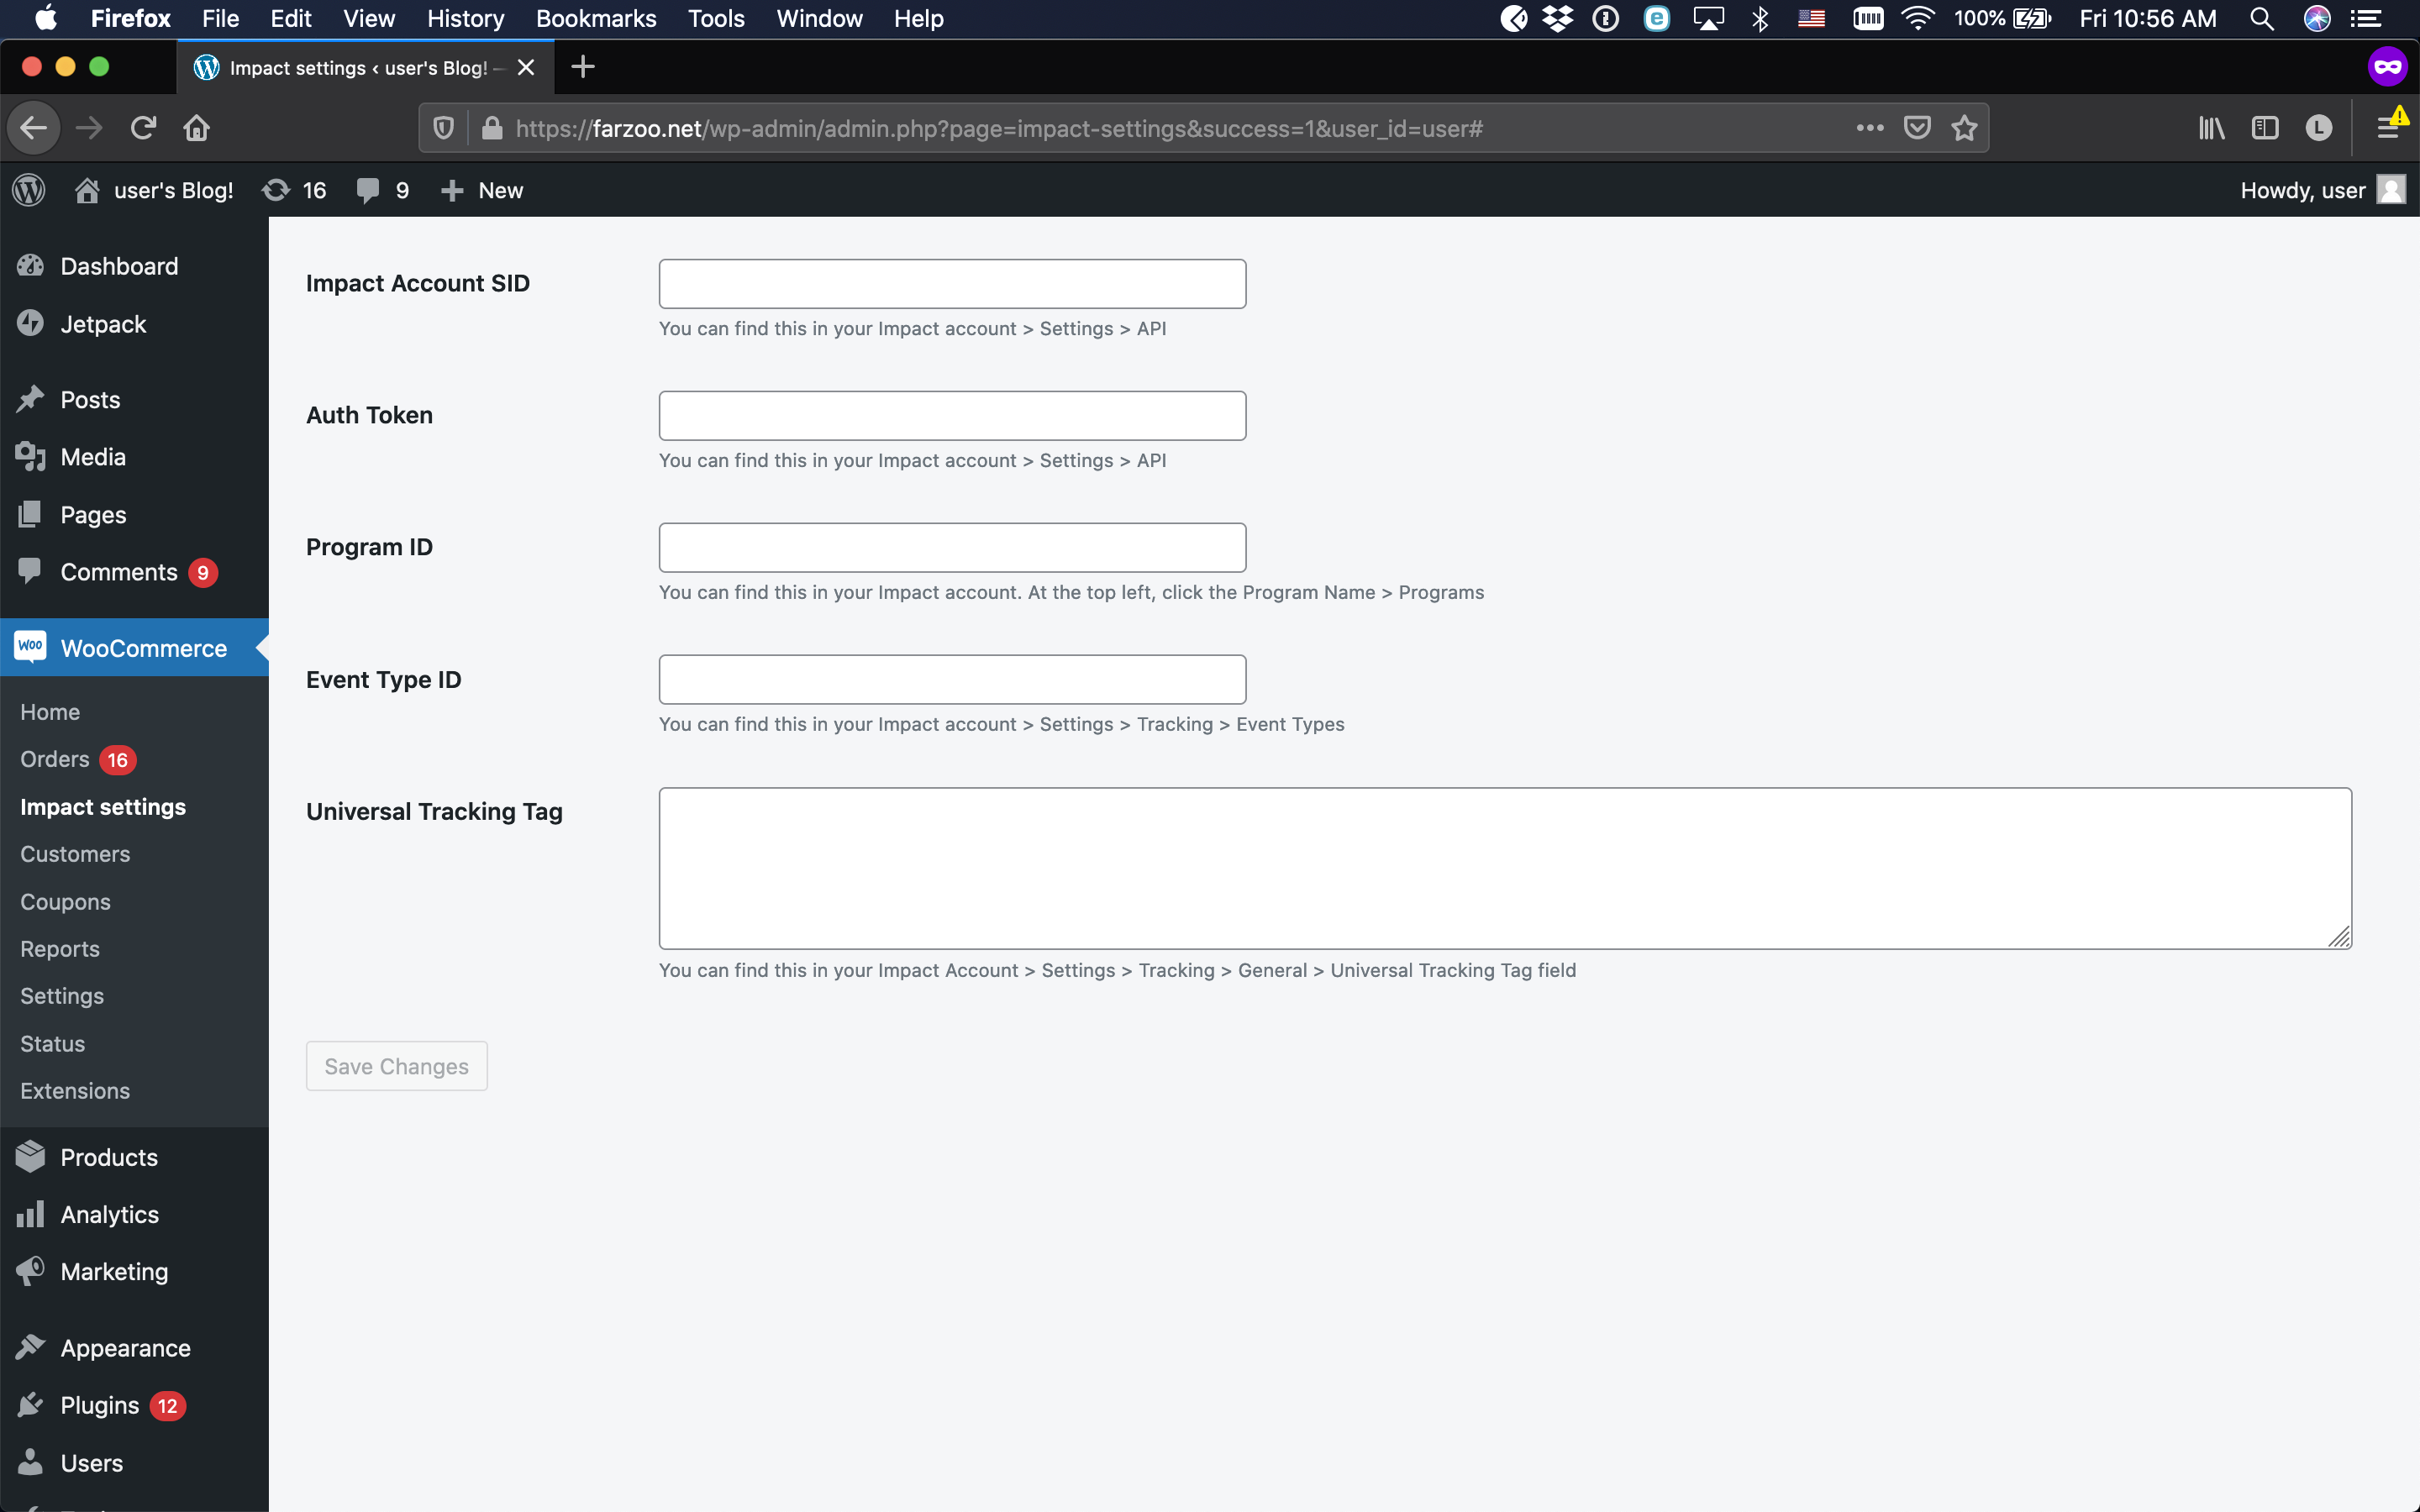
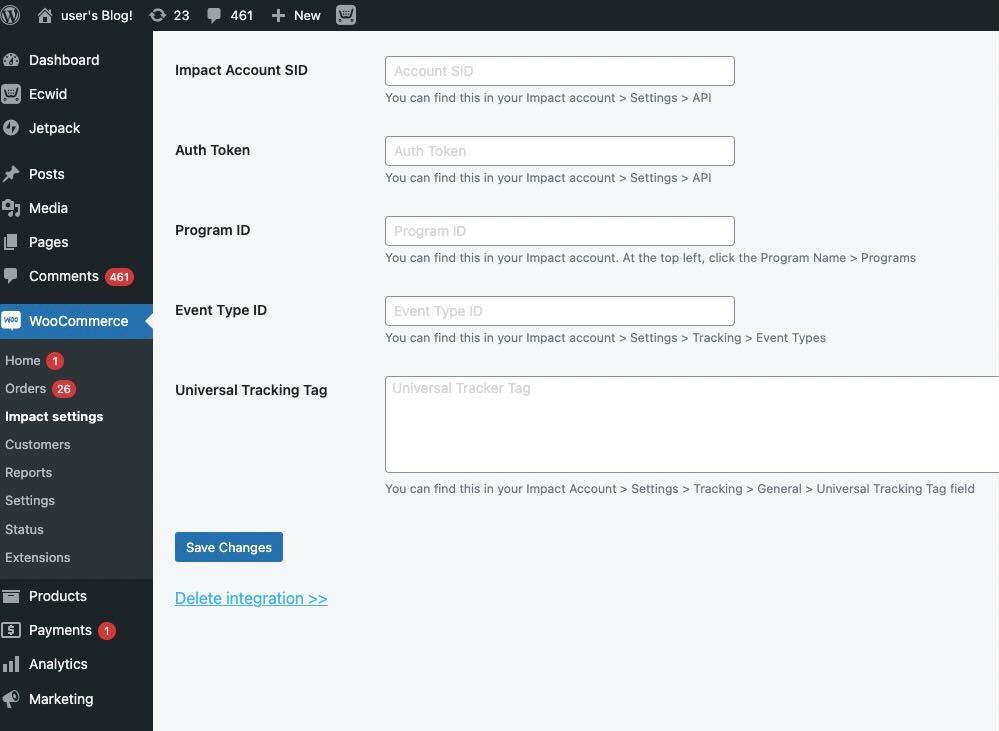
Add your impact.com account information to the fields.
- Select Save. You'll receive confirmation that impact.com has been installed, after which you can begin end-to-end testing.
| Field | Description |
|---|---|
| Impact Account SID * | In the impact.com platform, from the top navigation bar, select [User profile] → Settings → API and copy your Account SID. |
| Auth Token * | In the impact.com platform, from the top navigation bar, select [User profile] → Settings → API and copy your Auth Token. |
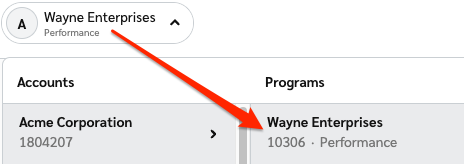
| Program ID * | In the impact.com platform, select your brand name in the top-left corner. Your Program ID is the numerical value under the program name. |
| Sale/Subscription Tracker * | In the impact.com platform, from the top navigation bar, select [User profile] → Settings → Event Types. Copy the number in parenthesis next to the name of the event type. |
| Universal Tracking Tag * | In the impact.com platform, navigate to your UTT and copy the entire unique code snippet. |
End-to-End Testing
End-to-End Testing Instructions
After completing the integration, perform the following tests:
- Test conversion tracking: Make a test purchase through your affiliate links
- Verify data flow: Check that conversion data appears in your impact.com dashboard
- Test refund tracking: Process a test refund and verify it's tracked correctly
- Monitor for 24-48 hours: Ensure consistent data flow between platforms
If you encounter any issues during testing, contact your Customer Success Manager or reach out to support.
Modifications & Reversals
Important!Always make sure to modify and/or reverse orders in WooCommerce first, then check it was modified/reversed in impact.com. Actions you modify or reverse in impact.com will not be sent to WooCommerce.
Delete your impact.com integration
- From your WooCommerce dashboard, select Impact settings.
- From your Impact settings page, select Delete integration at the bottom of the screen.
- To confirm the deletion, check the box and select Delete credentials.
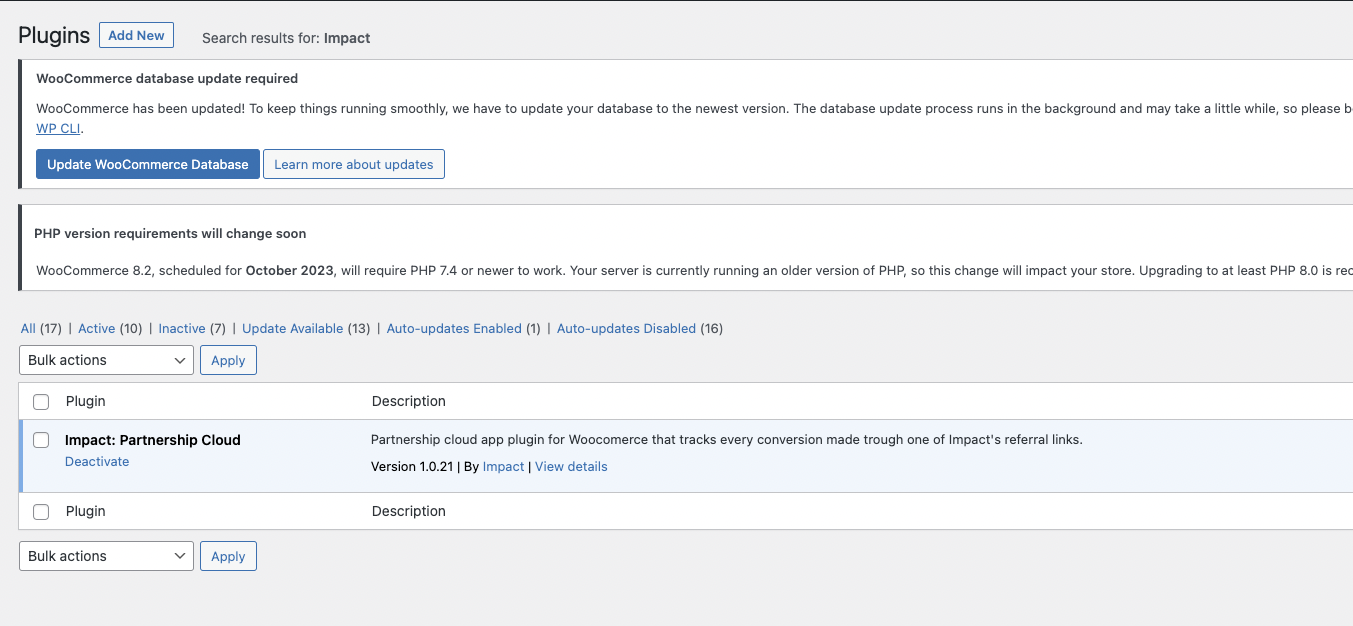
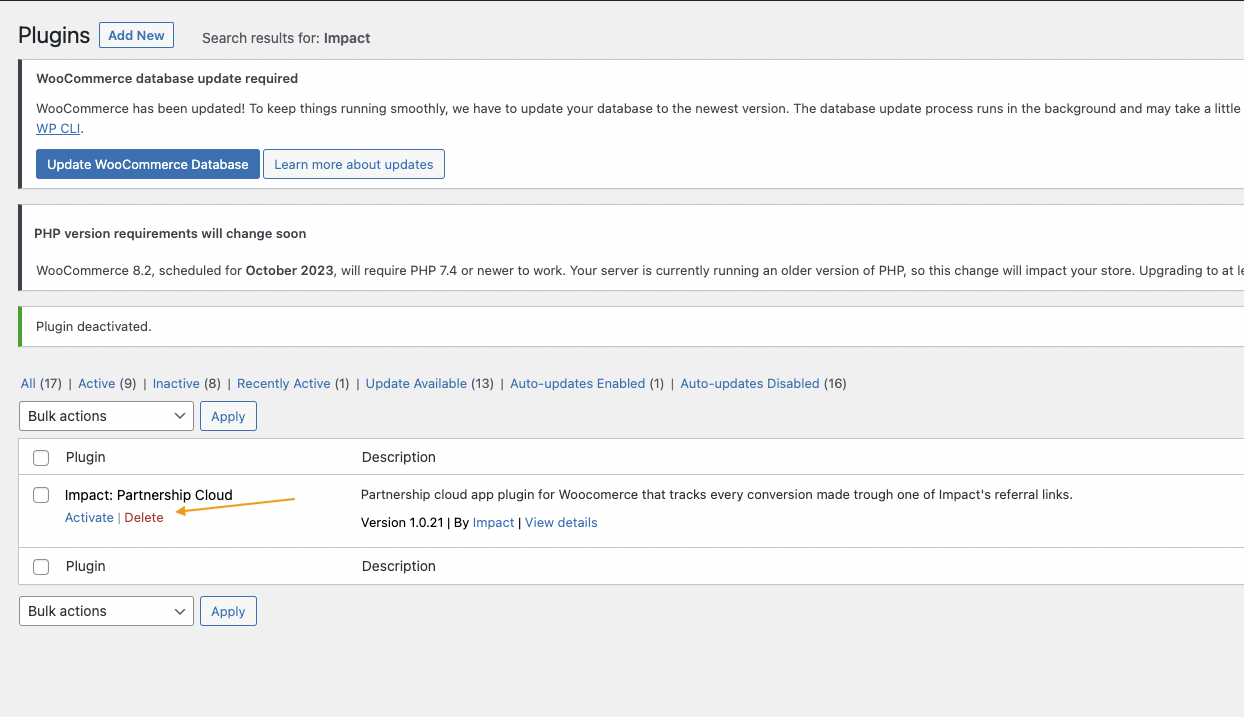
- Go to Plugins → Installed Plugins → search for "Impact" → Deactivate → Delete.
Updated 6 days ago

