Integrate with Shopify
impact.com Affiliate Marketing on Shopify integrates impact.com's conversion tracking & reporting with your Shopify store, allowing you to manage affiliates and influencers to acquire new customers. The app is a no-code plugin, meaning you can integrate and end-to-end test without web development expertise.
Check before integrating
impact.com will complete several integration steps on your behalf. Check with your implementation engineer to ensure that the following configuration steps have been completed: Event Type, Gateway Tracking, General Tracking.
Confirm the following about your Shopify store & impact.com account:
Hosted on Shopify: Your store landing page is hosted on Shopify, not externally. Custom shopping experiences aren’t supported at this time.
Cookie banner required: You have the Customer Privacy cookie banner enabled, as required by Shopify. EMEA-based storefronts require customers to opt in for tracking consent.
SKUs assigned by default: All products in your Shopify store are automatically assigned a SKU (stock keeping unit). Learn how to edit products in Shopify.
Recurring subscriptions not tracked: You're currently only tracking online sales and first-time subscription purchases. To track recurring subscriptions, refer to Shopify & Recharge or Shopify & Bold.
Step 1: Install the impact.com app on your Shopify store
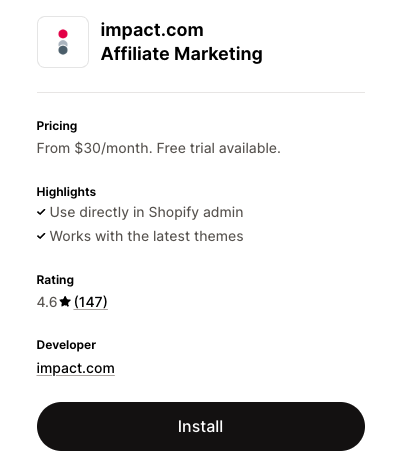
While logged in to Shopify, open the impact.com Affiliate Marketing app in the Shopify App Store and select Install.
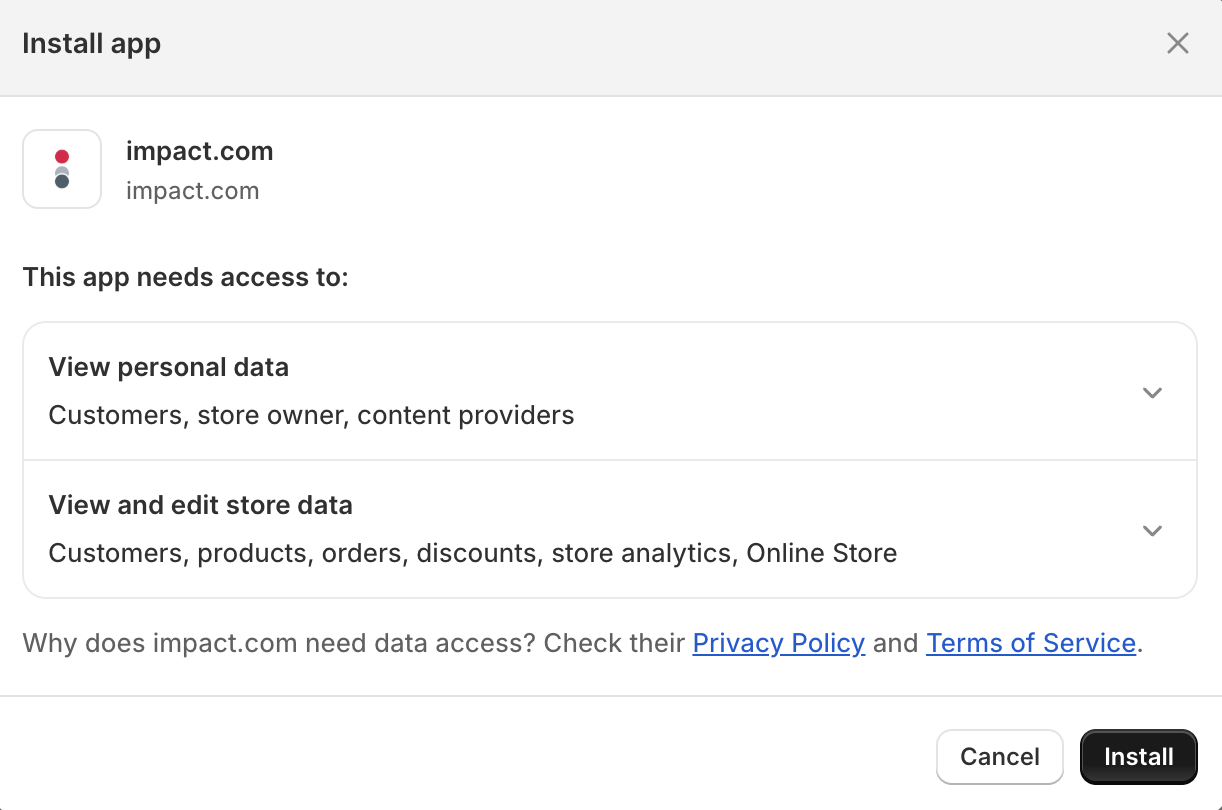
Shopify will prompt you to install Impact: Partnership Cloud. Review the details on the screen, and select Install App.
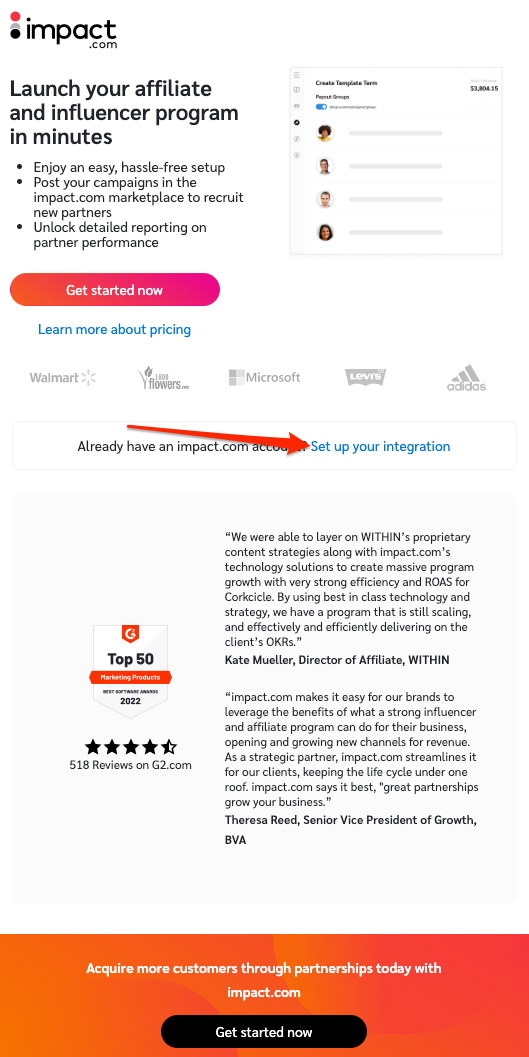
Once installed, find the app in your list of Shopify apps. To begin, select Set up your integration.
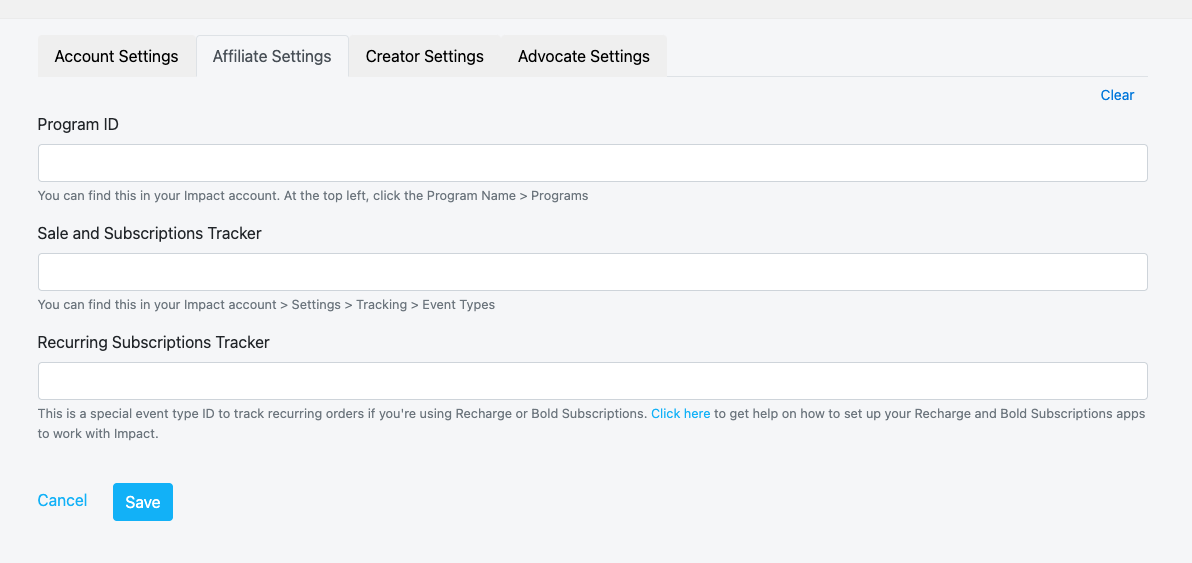
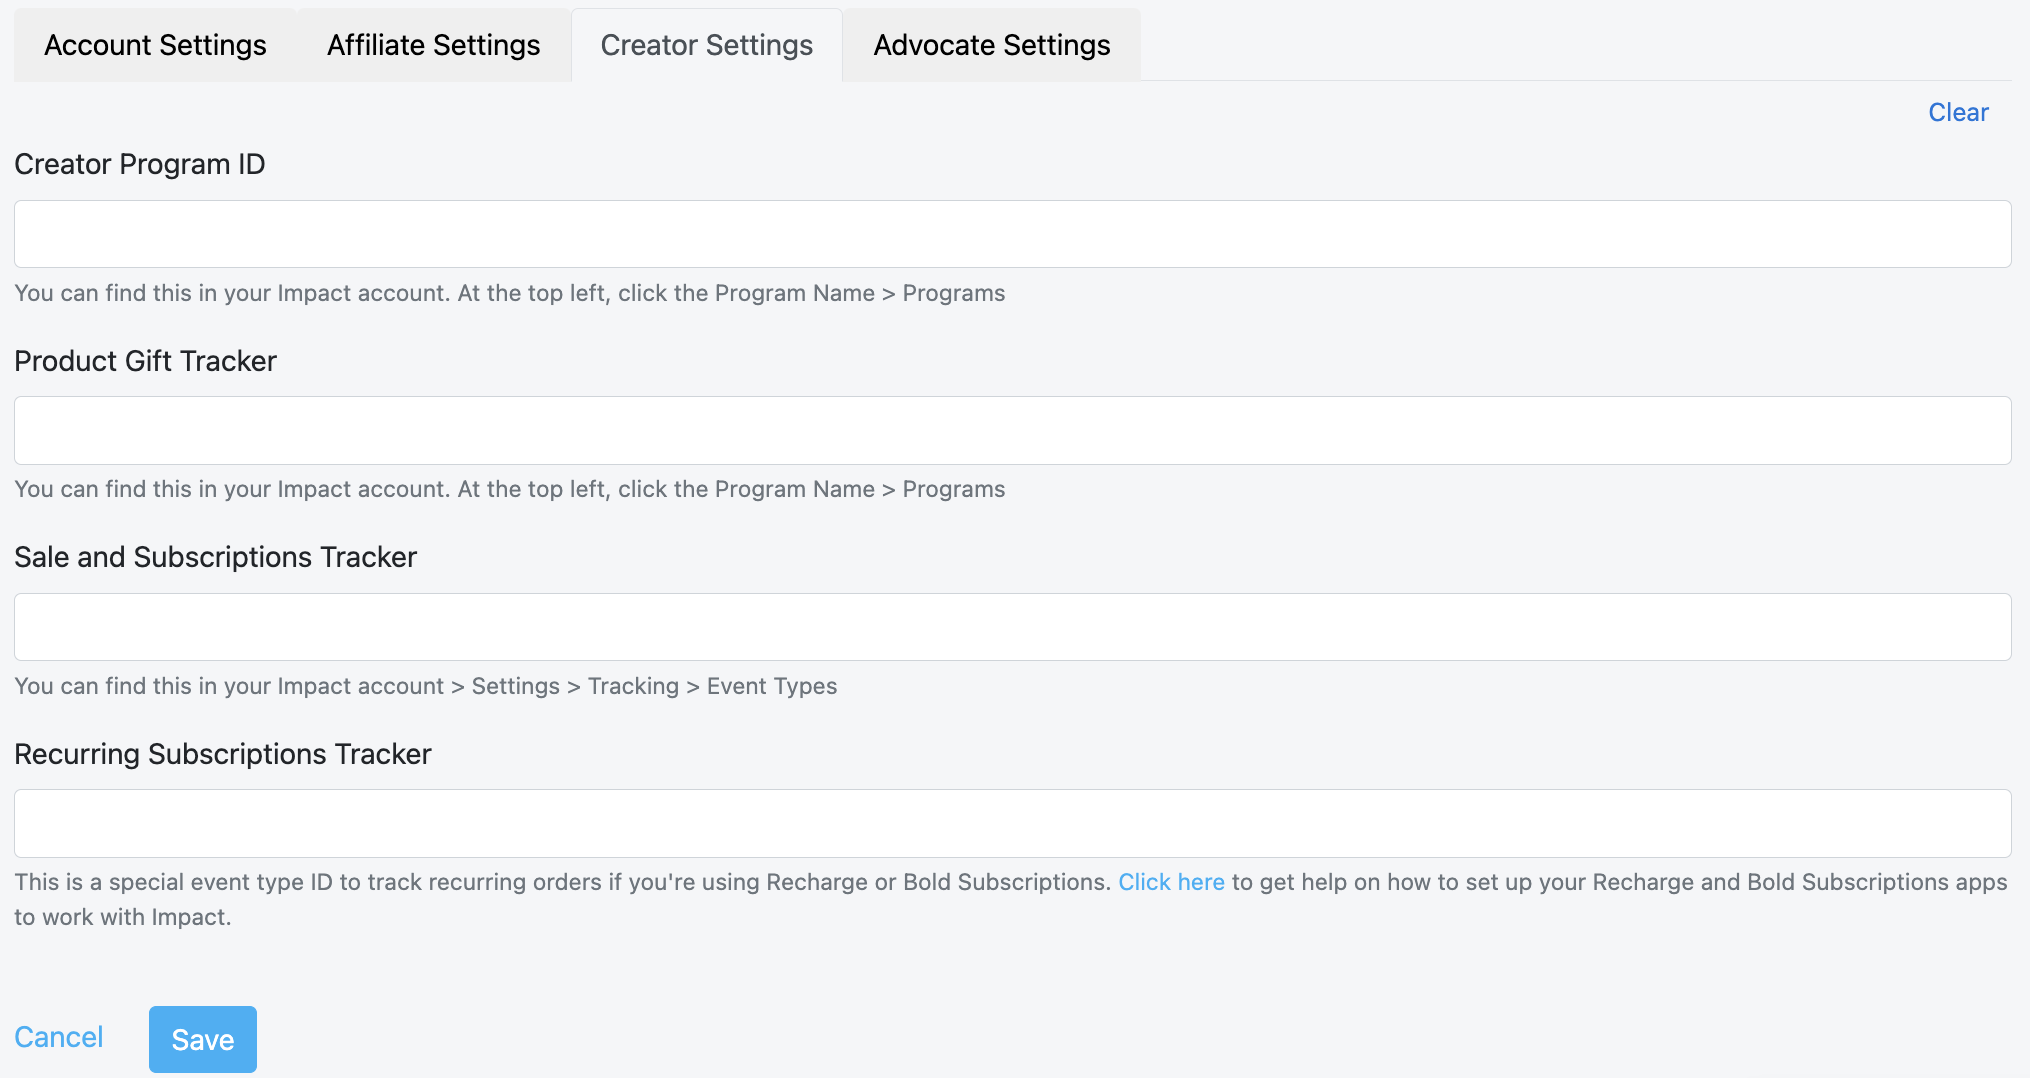
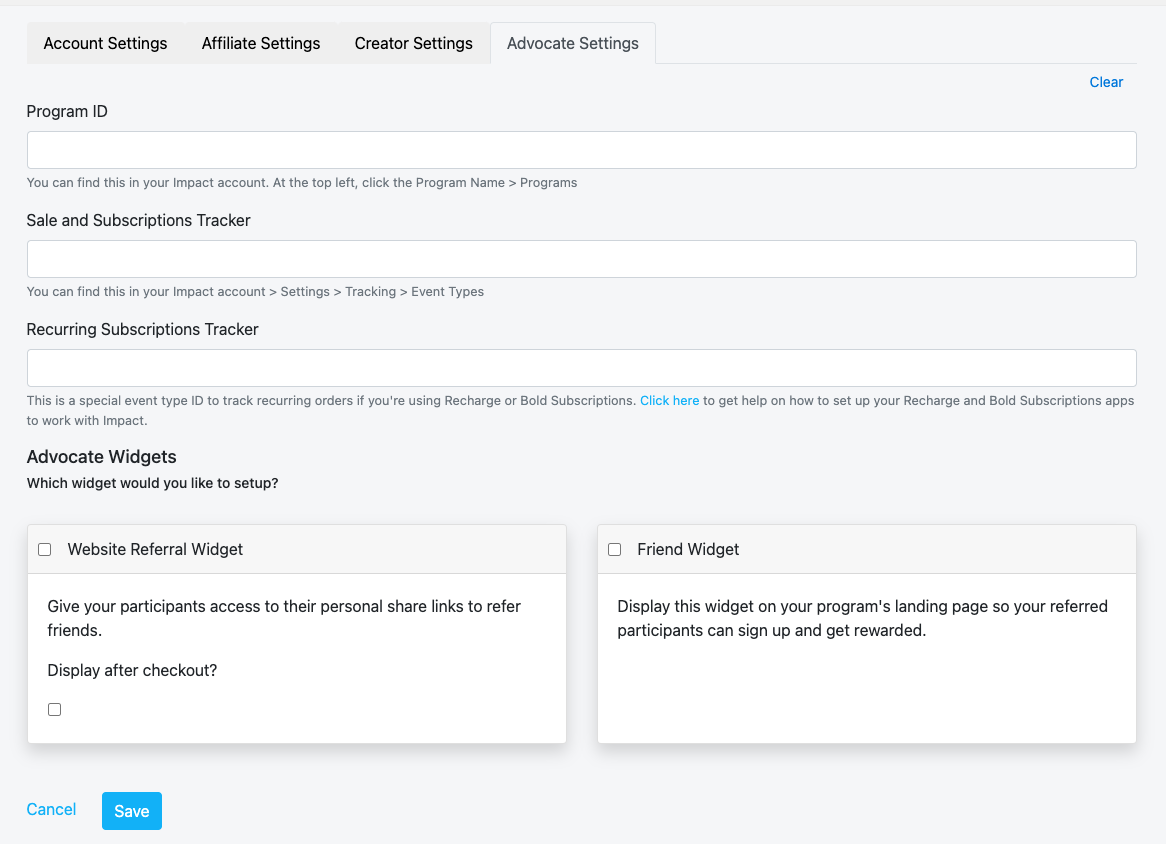
- Select a tab to view the next set-up steps for your impact.com program.
- Select Save. You'll see a confirmation screen for the enabled integration, along with your impact.com account info.
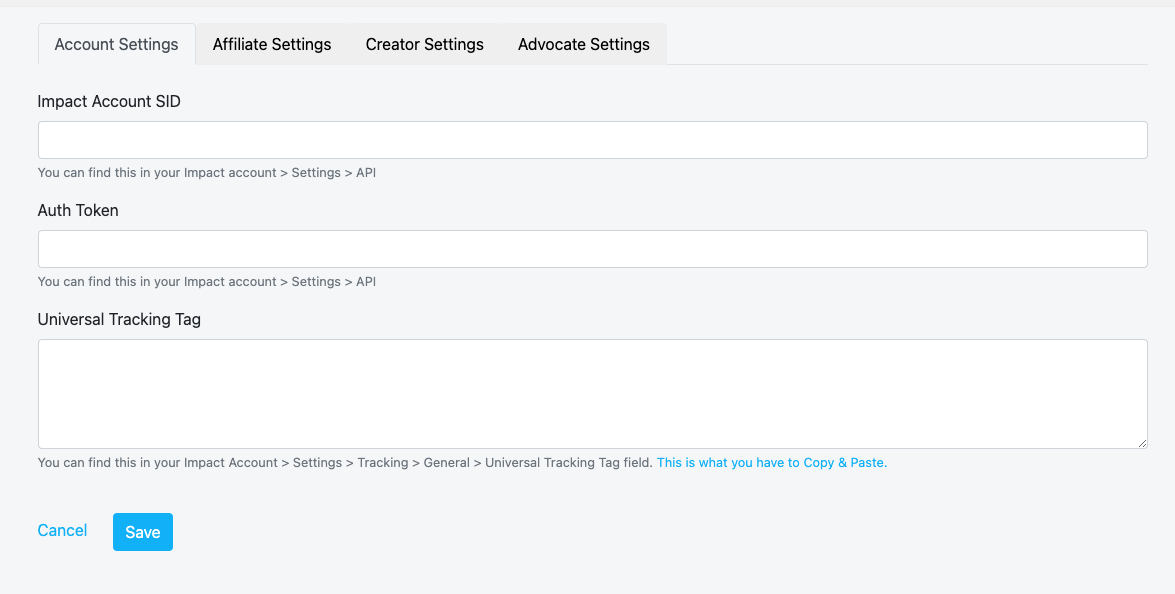
Under the Account Settings tab, input your impact.com account settings.
See the Settings reference below for instructions on where to find the details needed.
Step 2: Update your Shopify settings
To learn more about why this step is necessary, see Shopify Plugin Consent Management Explained.
- Log in to your Shopify account.
- From the left menu bar, select Online Store → Themes.
- Select Edit theme on your current theme.
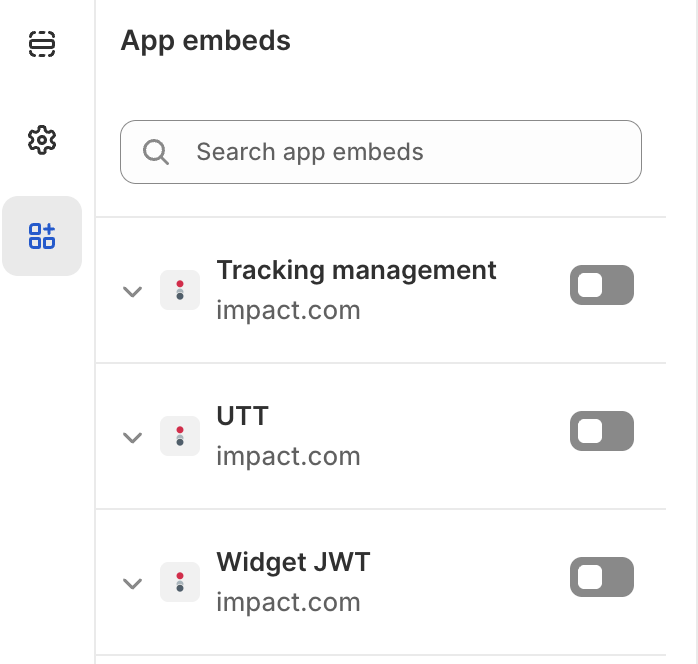
- In the theme editor's left menu bar, select App embeds.
- Depending on your theme version, this may say App sections instead.
- Locate the impact.com plugin you just installed, and:
- [Toggle On] Tracking Management.
- [Toggle On] UTT.
Settings reference
| Setting | Description |
|---|---|
| Impact Account SID * | In the impact.com platform, navigate to [User profile] → Settings → API and copy your Account SID. |
| Auth Token * | In the impact.com platform, navigate to [User profile] → Settings → API and copy your Auth Token. |
| Sale and Subscriptions Tracker * | In the impact.com platform, navigate to [User profile] → Settings → Event Types. Copy the number in parenthesis next to the name of the Online Sale event type. |
| Recurring Subscriptions Tracker | Leave this field blank. |
Alternatively, refer to your_Program Elements_ document for your specific account information.
End-to-End Testing
Note: This integration does not overwrite any existing or new notes you apply to customers in Shopify. Any customer notes you had will remain untouched, and new notes can be created manually.
Once the impact.com app is fully installed, you can begin end-to-end testing to ensure everything is working properly. Learn how to proceed with End-to-End Testing.
Troubleshooting
My test conversion isn't appearing in impact.com
If your test conversion isn't appearing, check the following:
- You've waited at least 30 minutes since the test conversion occurred in your Shopify store. Conversion reporting can take up to 2–4 hours during peak times — consider checking back later in a few hours.
- Your Event Type ID in Shopify exactly matches the Event Type ID in impact.com.
- Use the OrderId (OID) Lookup tool to search for the Shopify Order ID of the test order.
If the conversion still hasn't appeared after several hours, there may be something wrong with integration. Reverse the order in Shopify, verify that you've followed the installation instructions & end-to-end testing instructions closely, then try again.
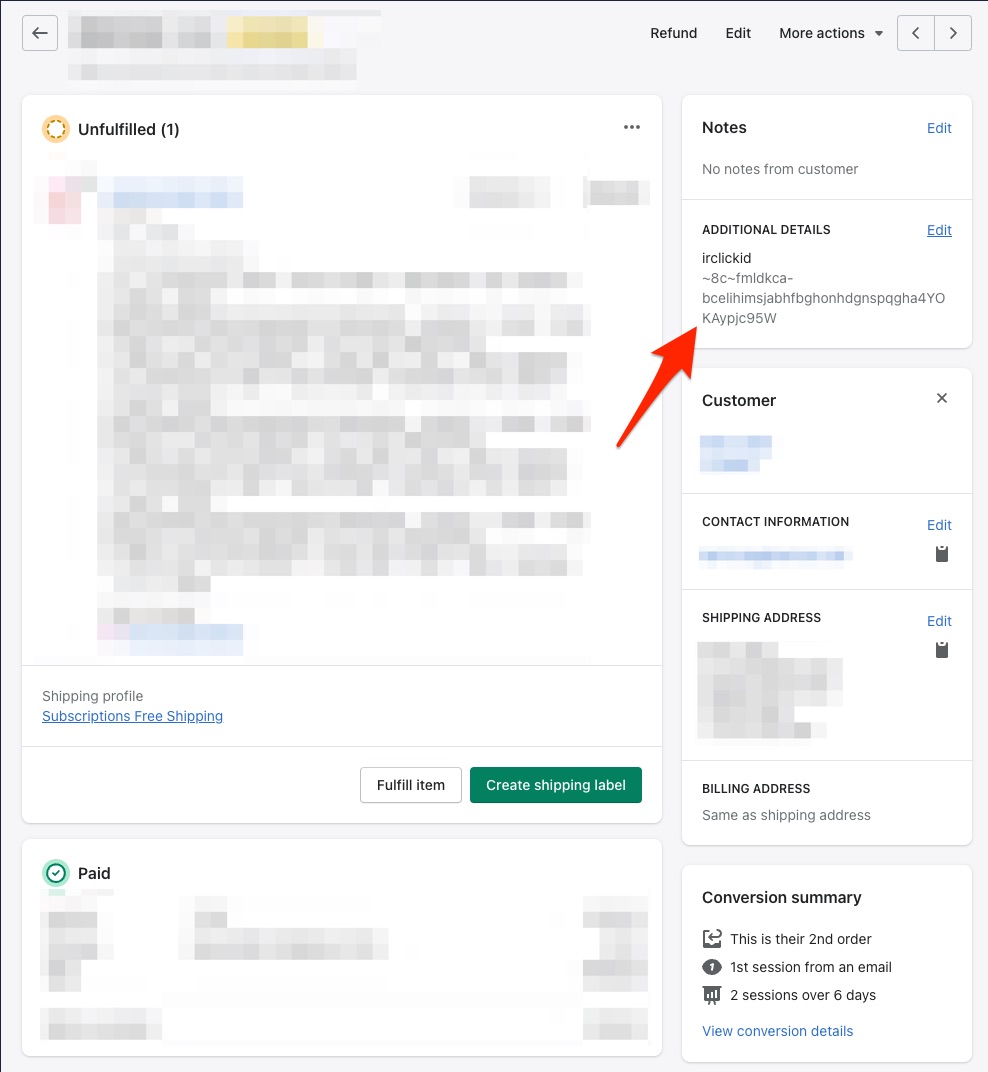
irclickid doesn't always appear on my Shopify order page
irclickid doesn't always appear on my Shopify order pageThe absence of irclickid under the Additional Details section on a Shopify order doesn't necessarily mean there's a problem with your tracking setup.
In some cases, irclickid appears, showing that the order came from an impact.com click. However, it doesn't always appear even when the order is properly tracked. This can happen because of the way the customer reached your store or settings that affect tracking.
Modifications & Reversals
Once integrated, you can modify & reverse items and/or entire orders in Shopify and impact.com will update actions accordingly.
Important: Modifications and reversals you make in impact.com will not be sent to Shopify — we recommend always modifying or reversing items & orders in Shopify first, then confirm it was modified/reversed in impact.com's platform.
A few things to keep in mind:
- A SKU represents an item within an order. For example, if an order has 1 item with the SKU 1ABC23 priced at 10.00, the line item SKU amount would be 10.00.
- A line item SKU is a SKU with a quantity larger than 1 in an order (e.g., the order has multiples of the same item). For example, if an order has 2 items, both with the SKU 1ABC23 priced at 10.00 each, the line item SKU amount would be 20.00. impact.com will always show the line item SKU amount.
- When applying order-level reversals, the amount reversed from the order is distributed and weighted across all items within an order. In some cases, reversing certain amounts at the order-level could completely reverse an item if the item's price is less than the weighted amount that's applied to it.
- When applying item-level reversals after an order level discount has already been applied, the remaining amount for the item will be weighted / deducted across the remaining items.
Item-level reversals
When modifying a SKU in Shopify, impact.com will receive the updated Quantity and Amount and apply it to the item.
Example
-
Shopify reports an order to impact.com with two different SKUs that both have the same price:
+-----------------+ | ITEM | PRICE | |========|========| | 1ABC23 | 10.00 | | 9XYZ87 | 10.00 | |=================| | TOTAL | 20.00 | +-----------------+ -
In Shopify, a 5.00 reversal is applied to this order, which is distributed across all SKUs in the order. It will now show in impact.com as:
+-----------------+
|  ITEM  | PRICE  |
|========|========|
| 1ABC23 | 07.50  |
| 9XYZ87 | 07.50  |
|=================|
|  TOTAL | 15.00  |
+-----------------+
The 5.00 is split evenly across the price of the two items in the order.
-
Let's reverse an individual line item: SKU
1ABC23is fully reversed, which at its original price of 10.00, means that 10.00 is reduced from the order.+-----------------+ | ITEM | PRICE | |========|========| | 1ABC23 | 00.00 | | 9XYZ87 | 05.00 | |=================| | TOTAL | 05.00 | +-----------------+Since the item was already reduced at the order level, the remaining 2.50 that can't be removed from
1ABC23(since it was already reduced) is applied evenly to the rest of the items in the order. -
One final step: reverse
9XYZ87, meaning 10.00 is reduced from the order. Since it's the only item left and has been reduced down to 5.00, reversing this will refund the entire order in Shopify and reverse the action in impact.com.
Order-level reversals
Example
-
Shopify reports an order to impact.com with two different SKUs that both have the same price:
+-----------------+ | ITEM | PRICE | |========|========| | 1ABC23 | 10.00 | | 9XYZ87 | 10.00 | |=================| | TOTAL | 20.00 | +-----------------+ -
In Shopify, a 5.00 reversal is applied to this order, which is distributed across all SKUs in the order. It will now show in impact.com as:
+-----------------+
|  ITEM  | PRICE  |
|========|========|
| 1ABC23 | 07.50  |
| 9XYZ87 | 07.50  |
|=================|
|  TOTAL | 15.00  |
+-----------------+
The 5.00 is split evenly across the price of the two items in the order.
-
Going another step further, the order has a 15.00 reversal applied to it in Shopify. The order is fully refunded in Shopify and reversed in impact.com:
+-----------------+
|  ITEM  | PRICE  |
|========|========|
| 1ABC23 | 00.00  |
| 9XYZ87 | 00.00  |
|=================|
|  TOTAL | 00.00  |
+-----------------+
Supported parameters
The table below lists all of the supported parameters of the integration — in other words, data that impact.com captures from Shopify.
| Parameter | Example | Description |
| CampaignId | 8882 | Also known as a Program ID, this is the ID number for your impact.com program/campaign. |
| ActionTrackerId | 16027 | Also known as the Event Type ID, this is the ID number for your impact.com event type. |
| EventDate | 2020-06-18T14%3A33%3A49 | Tracks the date that the action occurred. |
| ClickId | 2uz3sQWFlxyJRcqwUx0Mo34VUkiyyO0tIzeG3U0 | This is the Click Id associated with the action. |
| OrderId | 2516623458378 | This is the Impact Oid (Order ID) value associated with the action (not the Shopify Order ID). |
| CustomerId | 3222174466122 | If you're tracking and passing customer info, this is an ID number to reference the customer associated with the order. |
| CustomerEmail | 38b85baa75385758d44d3dbfd97921c32e0d09a9 | If you're tracking and passing customer info, this is the SHA1 hash of the customer's email. |
| CustomerStatus | EXISTING or NEW | If you're tracking and passing customer info, this is the status of the customer associated with the order. |
| CurrencyCode | USD | This is the currency code for the currency recorded in the action. |
| IpAddress | 1.1.1.1 | The IP address associated with the action. |
| UserAgent | Mozilla/5.0 (Macintosh; Intel Mac OS X x.y; rv:42.0) Gecko/20100101 Firefox/42.0 | The user agent string associated with the action. |
For item-level data, the ItemSku1, ItemQuantity1, ItemCategory1, ItemSubTotal1, then ItemSku2, ItemQuantity2, etc. | ||
ItemSku{i} | KS944RUR | The Shopify SKU number for an item in the action. |
ItemQuantity{i} | 1 | The quantity amount for the first item in the action. |
ItemCategory{i} | Big Black Anvil | The name of the Shopify product (called Title on Shopify). |
ItemSubtotal{i} | 60.00 | The subtotal amount of the item before taxes, shipping, and any other costs are added onto the total. |
OrderPromoCode{i} | Welcome10 | Promo code used for the order tracked by the conversion. Only works as an attribution key if this code was assigned as a unique tracking code to a particular partner. In that case, that partner will win credit for this conversion. |
Updated 5 days ago

