
Integrate with Squarespace
The impact.com app in Squarespace integrates impact.com's conversion tracking & reporting with your Squarespace store. Our app is a no-code plugin, meaning you can integrate and end-to-end test without needing web development expertise.
This guide covers…
- A check that needs to be performed before integrating
- How to install the impact.com plugin to your Squarespace store
- Full end-to-end conversion testing in your store
Check before integrating
Before proceeding with the Squarespace integration, ensure you have:
- Access to your impact.com account
- Admin access to your Squarespace store
- Your impact.com account credentials ready
Understand the integration limitations
TaxesSquarespace handles taxes in one of two ways:
- Exclusive taxes (supported in integration)
Taxes will be added at checkout time. For example, if an item is listed with $10 price and the taxes that apply for the customer’s zip code has a 10% rate, at checkout time will be charged $11 total for that product. $10 for the product and $1 on taxes.
- Inclusive taxes (not supported in integration)
Taxes will be included in the price listed in your shop. For example, if an item is listed with a price of $10 and the zip code used in checkout has a 10% tax rate, the user will be charged $10 total for the product, $9.08 for the item, and $0.92 on taxes.
NoteOnly exclusive tax configurations are supported—certain limitations exist in Squarespace that result in inclusive tax configurations reporting incorrect values.
Automated Reversals must be configured separatelyAutomated reversals can be configured:
- Using impact.com's API
Updatemethod- For full refunds: You can update an action
- For partial returns: You can update an action item
- By Batch FTP. Learn how to Batch modifications and reversals via FTP
Shipping discounts
Squarespace can’t distinguish product discounts from shipping discounts. Due to this limitation, the impact.com integration recognizes any discounts with the word shipping in its name as shipping discounts, which are omitted when calculating the order’s total discount value.
Squarespace stores allow customers to use multiple promo codes during checkout. impact.com can only support single promo code tracking in any given order. If promo code tracking is a part of your program, this integration will always send the first promo code to impact.com unless it contains shipping. If the first promo code contains shipping, the second promo code will be sent, if it exists.
Add impact.com to Squarespace
This instruction set covers installing the impact.com app to your Squarespace store.
Install impact.com's plugin
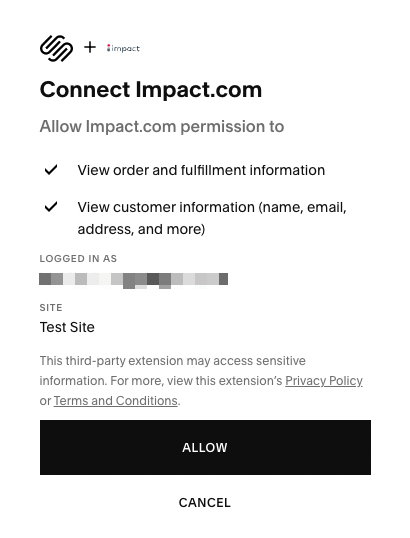
Select this impact.com installation link and select the Squarespace account you want to log in with.
- Select Allow.
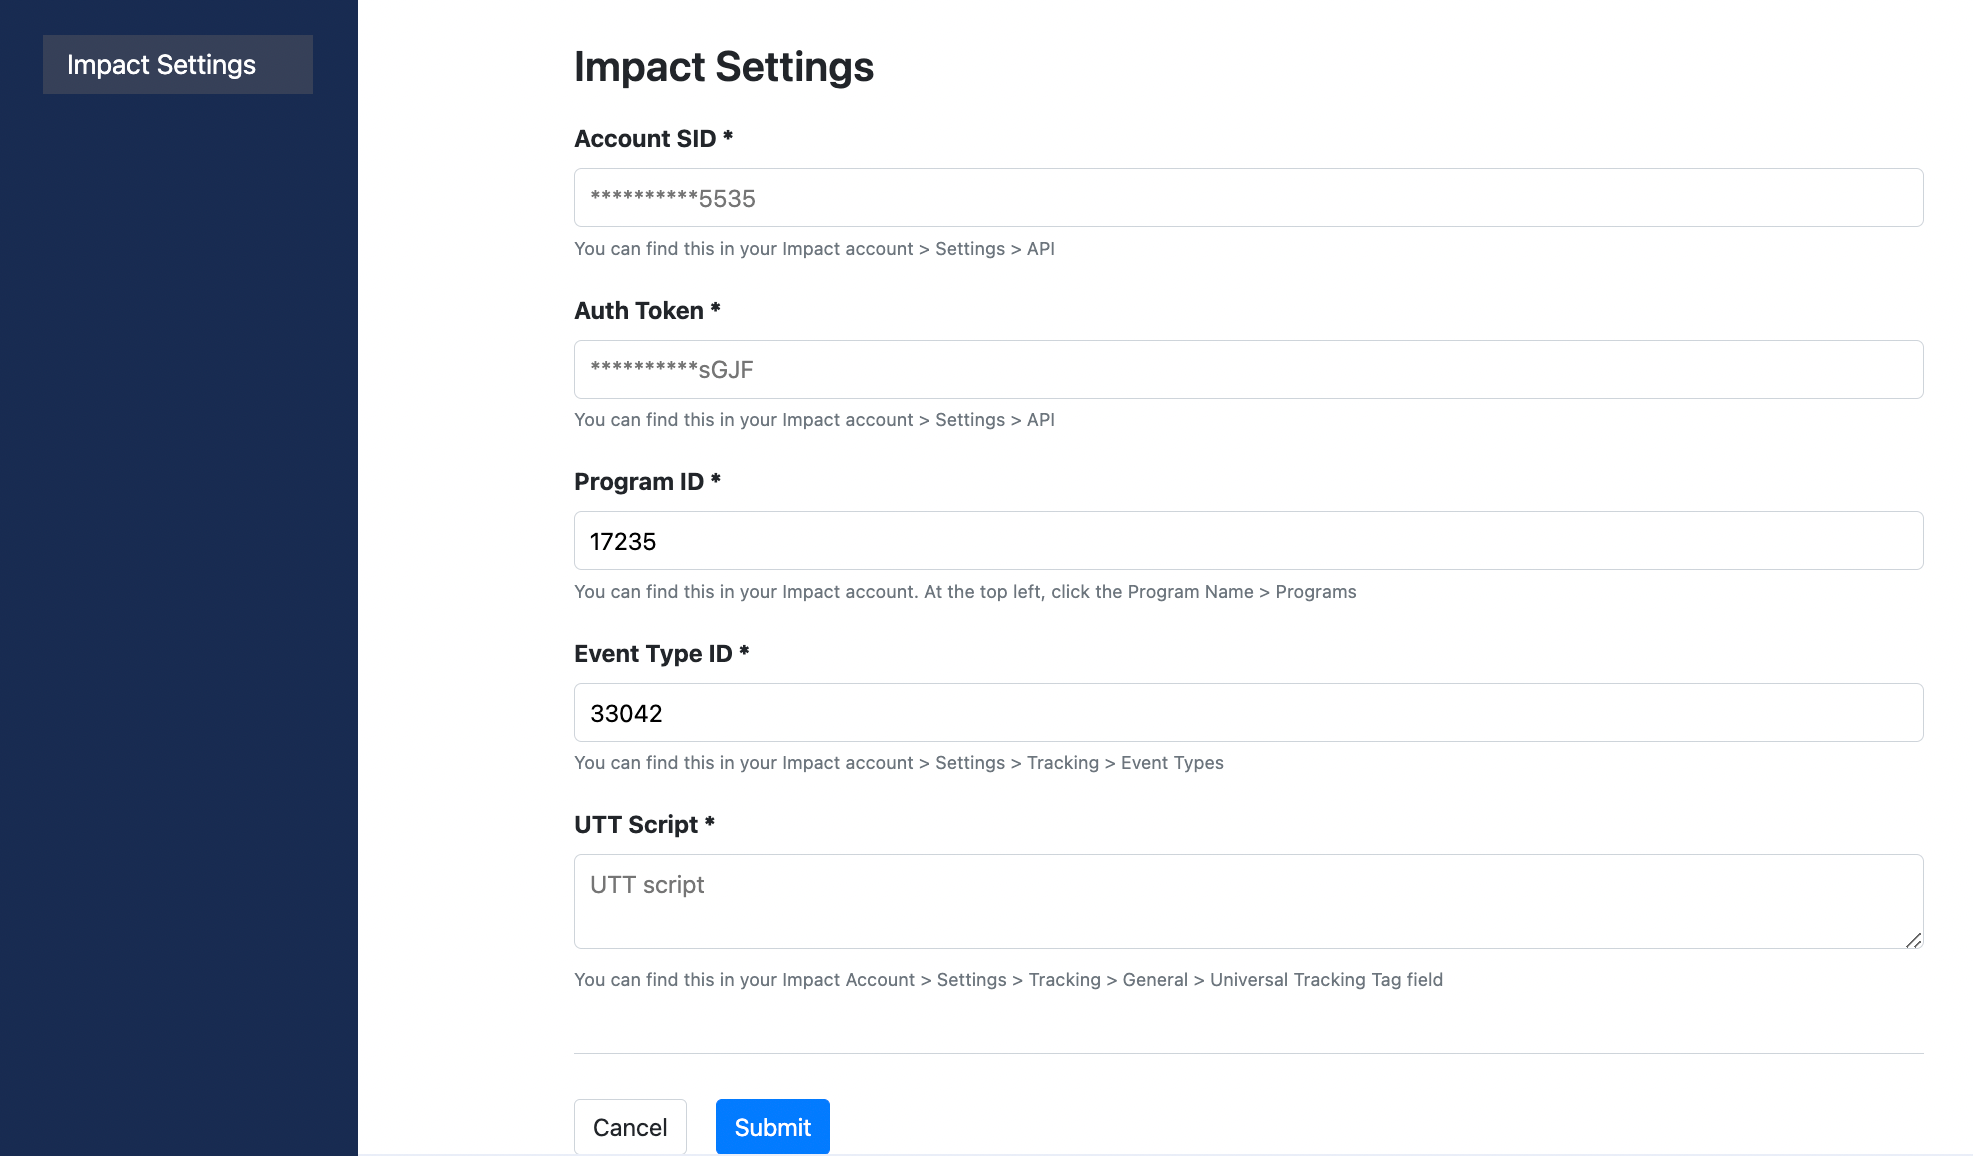
On the Impact Settings screen, fill in the relevant account data.
- See the Account Data table below for more information on how to access your account data.
- Refer to your Program Elements document for your specific account information.
Field Description Impact Account SID * In the impact.com platform, navigate to [User profile] → Settings → API and copy your Account SID.
Auth Token * In the impact.com platform, navigate to [User profile] → Settings → API and copy your Auth Token.
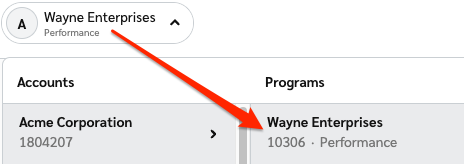
Program ID * In the impact.com platform, select your brand name in the top-left corner. Your Program ID is the numerical value under the program name.
Event Type ID * In the impact.com platform, navigate to [User profile] → Settings → Event Types. Copy the number in parenthesis next to the name of the event type.
Universal Tracking Tag * In the impact.com platform, navigate to your UTT and copy the entire unique code snippet.
- Select Submit.
End-to-End Testing
End-to-End Testing Instructions
After completing the integration, perform the following tests:
- Test conversion tracking: Make a test purchase through your affiliate links
- Verify data flow: Check that conversion data appears in your impact.com dashboard
- Test refund tracking: Process a test refund and verify it's tracked correctly
- Monitor for 24-48 hours: Ensure consistent data flow between platforms
If you encounter any issues during testing, contact your Customer Success Manager or reach out to support.
NoteModifications and reversals you do in Squarespace are NOT automatically sent to impact.com.
Updated 4 months ago