
(Unused) Pre-Integration Checklist
Before the integration can be implemented, gather the following information:
-
All URLs that point to your production environment site where the tracking integration will be implemented.
-
The top-level URL that's permitted for deep linking to your site (e.g.,
example.comwould allow deeplinking to any subdomain of the site). -
Confirm that impact.com can append query string parameters (e.g.,
https://www.example.com/store?irclickid={clickid}) to all landing page URLs of your site — these cannot be stripped by your site.
Step 1: Event Type configuration
Online Sale Event Type
Check that an Online Sale event type has been created and validated in your account.
Online Sale Event Type
-
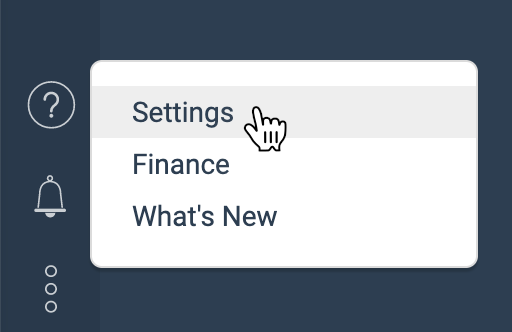
From the left navigation bar, select
[Vertical Ellipsis] → Settings.
-
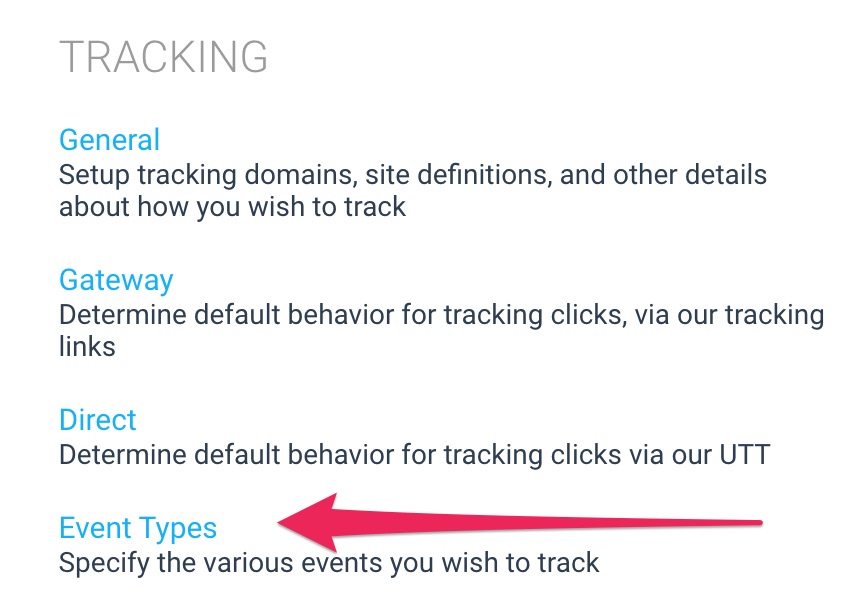
In the right column, go to the Tracking section and select Event Types.
-
Confirm that your event type matches below:
- Type is Online Sale.
- Tracking is Web Services.
- Validated is
[Checkmark]. - [Optional] Promo Code is
[Checkmark] if you're also tracking promo codes.

Step 2: Gateway Tracking configuration
Campaign Tracking Template
Confirm that the campaign tracking template includes irclickid=clickid as a query string parameter.
- From the left navigation bar, select
[Vertical Ellipsis] → Settings.
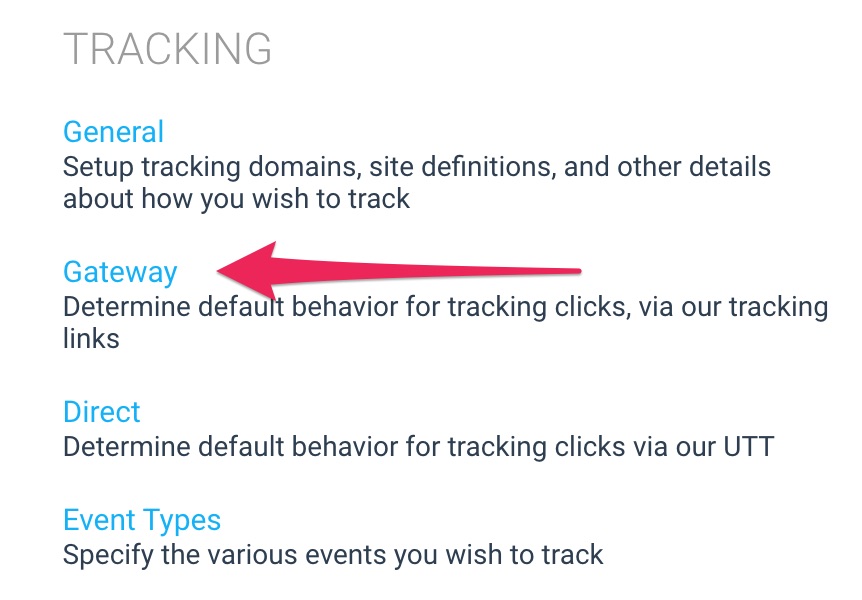
- In the right column, select Gateway.
- Find the Campaign Tracking Template line item. Confirm there's a query string parameter configured exactly identical (case-sensitive) to the screenshot below (
irclickid = {clickid}):
- If you’ve made any changes, select Save; otherwise select Cancel.
Deep Linking
Confirm that your website and store domain(s) are configured under deep linking, which enables partners to link traffic directly to specific pages and products.
- From the left navigation bar, select
[Vertical Ellipsis] → Settings.
- In the right column, go to the Tracking section and select Gateway.
- Find the Deep Linking line item — next to Permitted Domains, confirm that your site's top-level domain (without the
http(s)://prefix) is there:
- If you’ve made any changes, select Save; otherwise select Cancel.

Step 3: General Tracking configuration
Site Definition
Confirm that your website domain(s) are configured as site definitions, which enables our tracking solution to forward traffic from our domains to yours.
- From the left navigation bar, select
[Vertical Ellipsis] → Settings.
- In the right column, go to the Tracking section and select General.
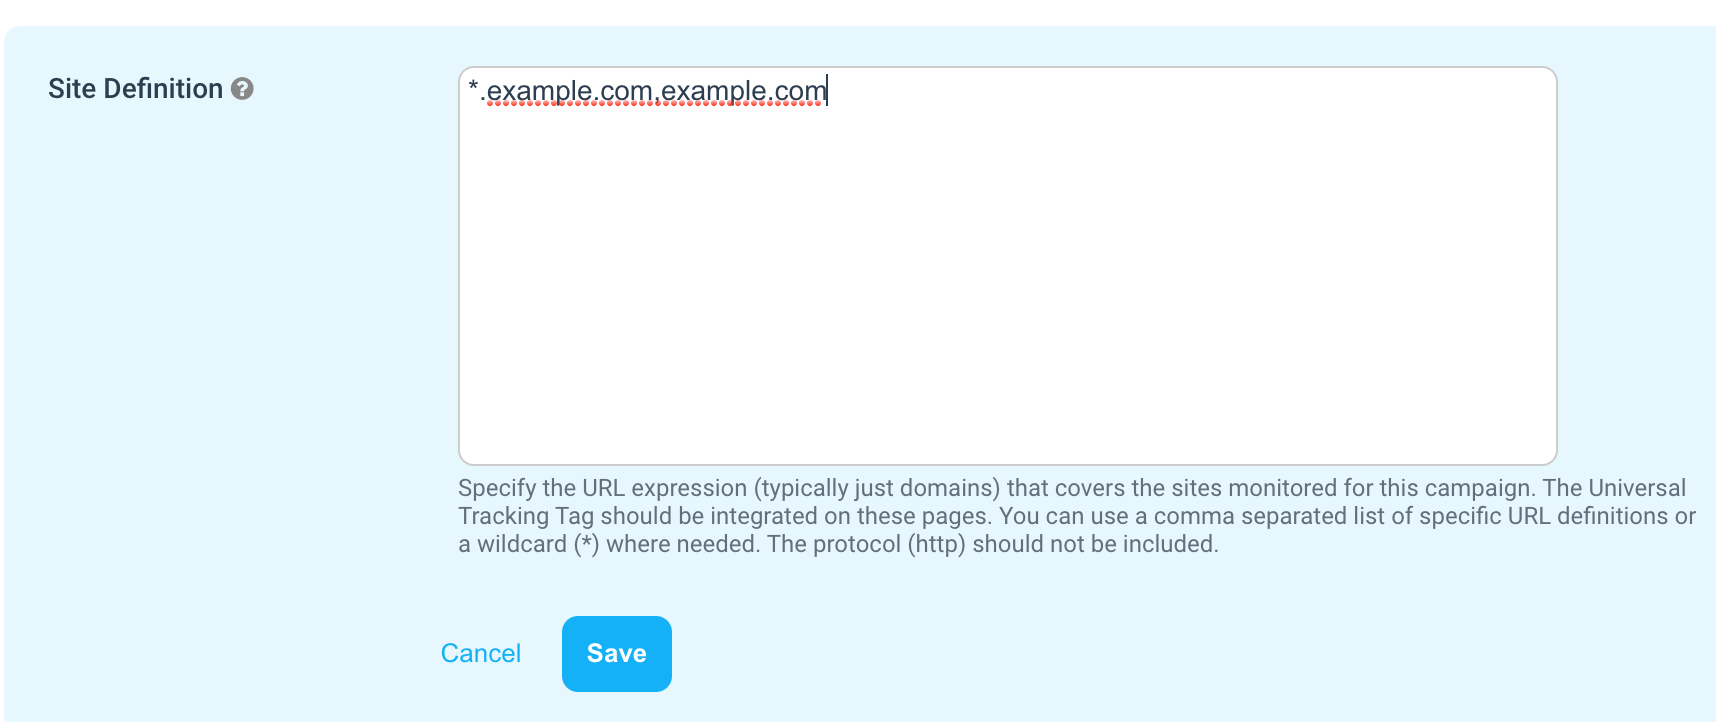
- Next to the Site Definition line item, confirm that the domains that you want to track are specified as a comma-separated list (no spaces, without the
http(s)://prefix). For example, a value ofexample.comwould track everything on any top-level (e.g.,example.com/store) and sub-domains (e.g.,store.example.com).
- If you’ve made any changes, select Save; otherwise select Cancel.
Updated about 1 year ago